This easy Easter Cake recipe is covered with fluffy vanilla bean frosting and topped with spring pastel cake crumb sprinkles.
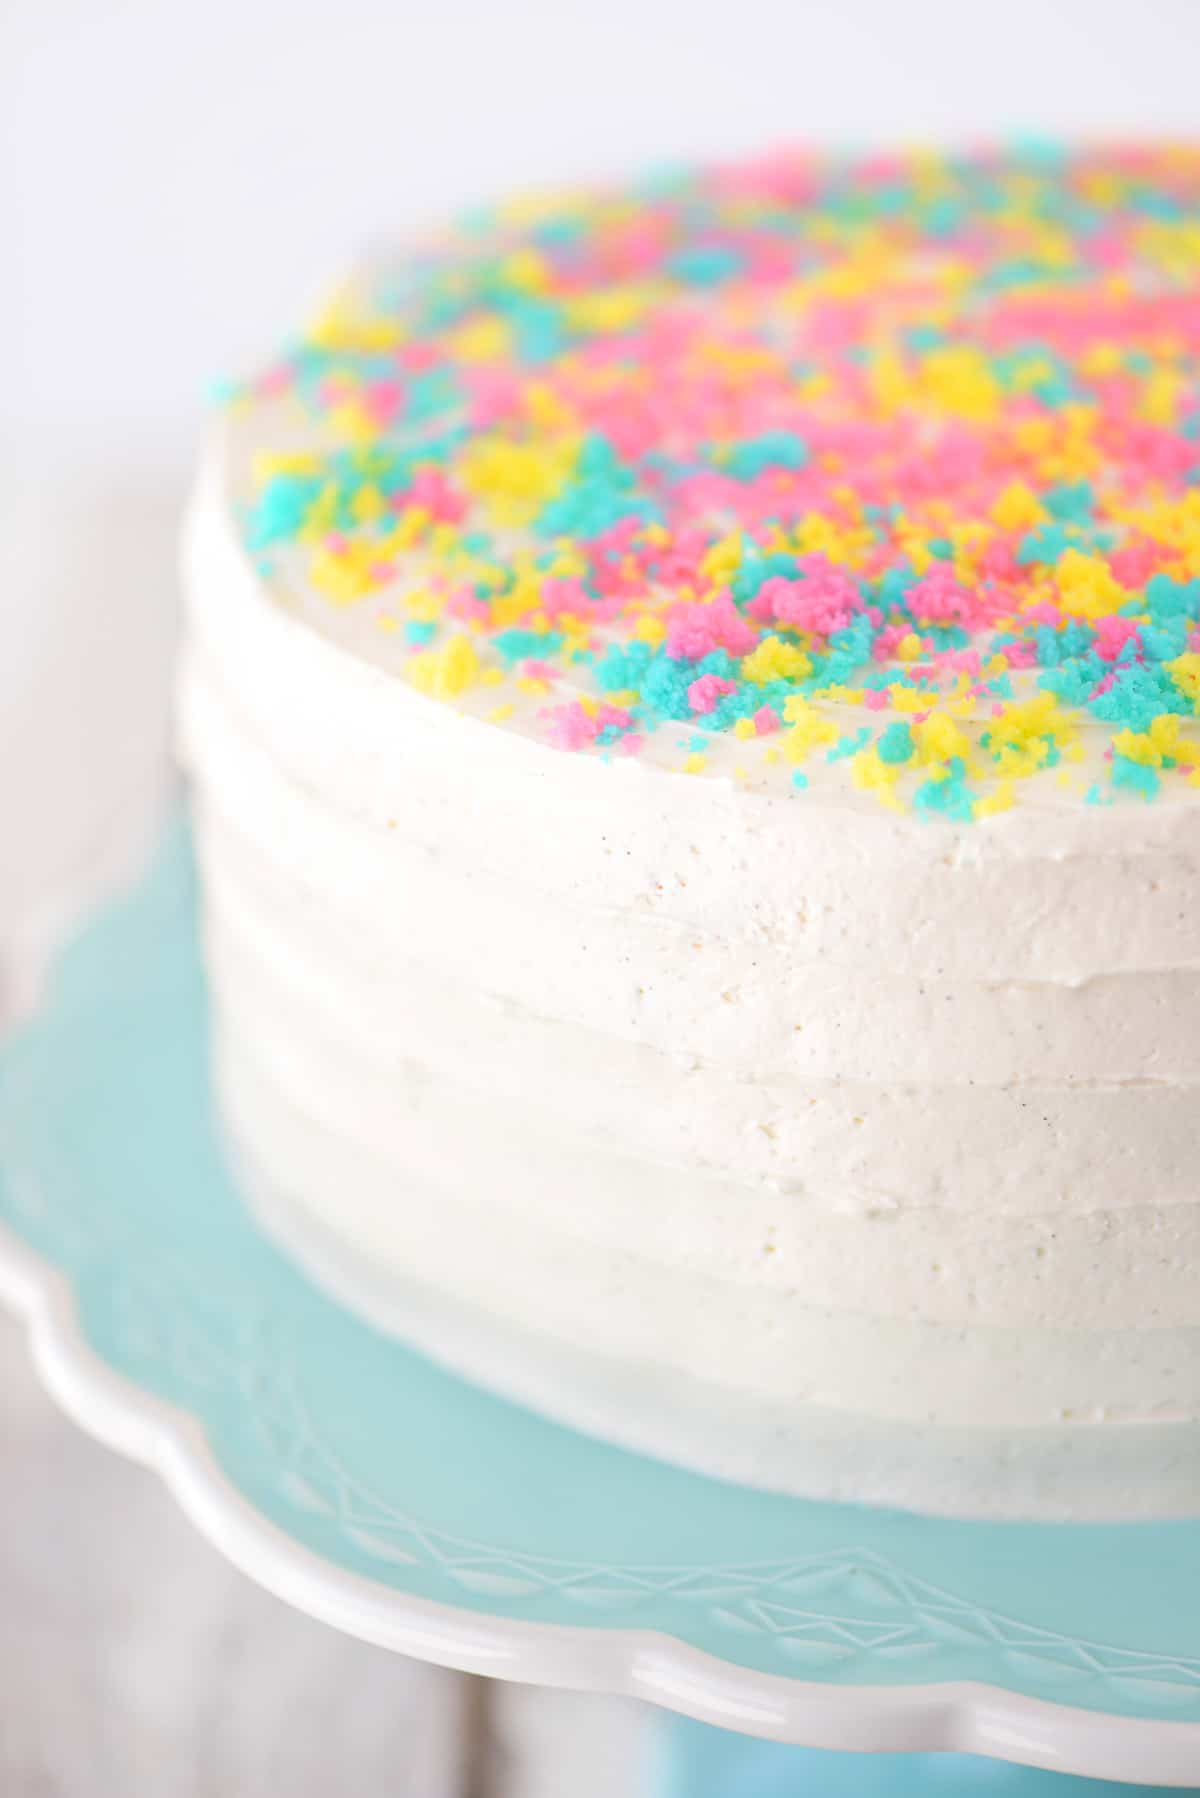
Easter will be here before we know it! I love all of the pretty spring colors and gorgeous desserts to go along with the season, so I decided to make an Easter cake recipe.
This spring layer cake has rustic ruffles in the frosting. The ruffles are super easy to make in the light, airy vanilla bean frosting!
Table of contents
How To Make An Easter Cake
Prepare the Pans
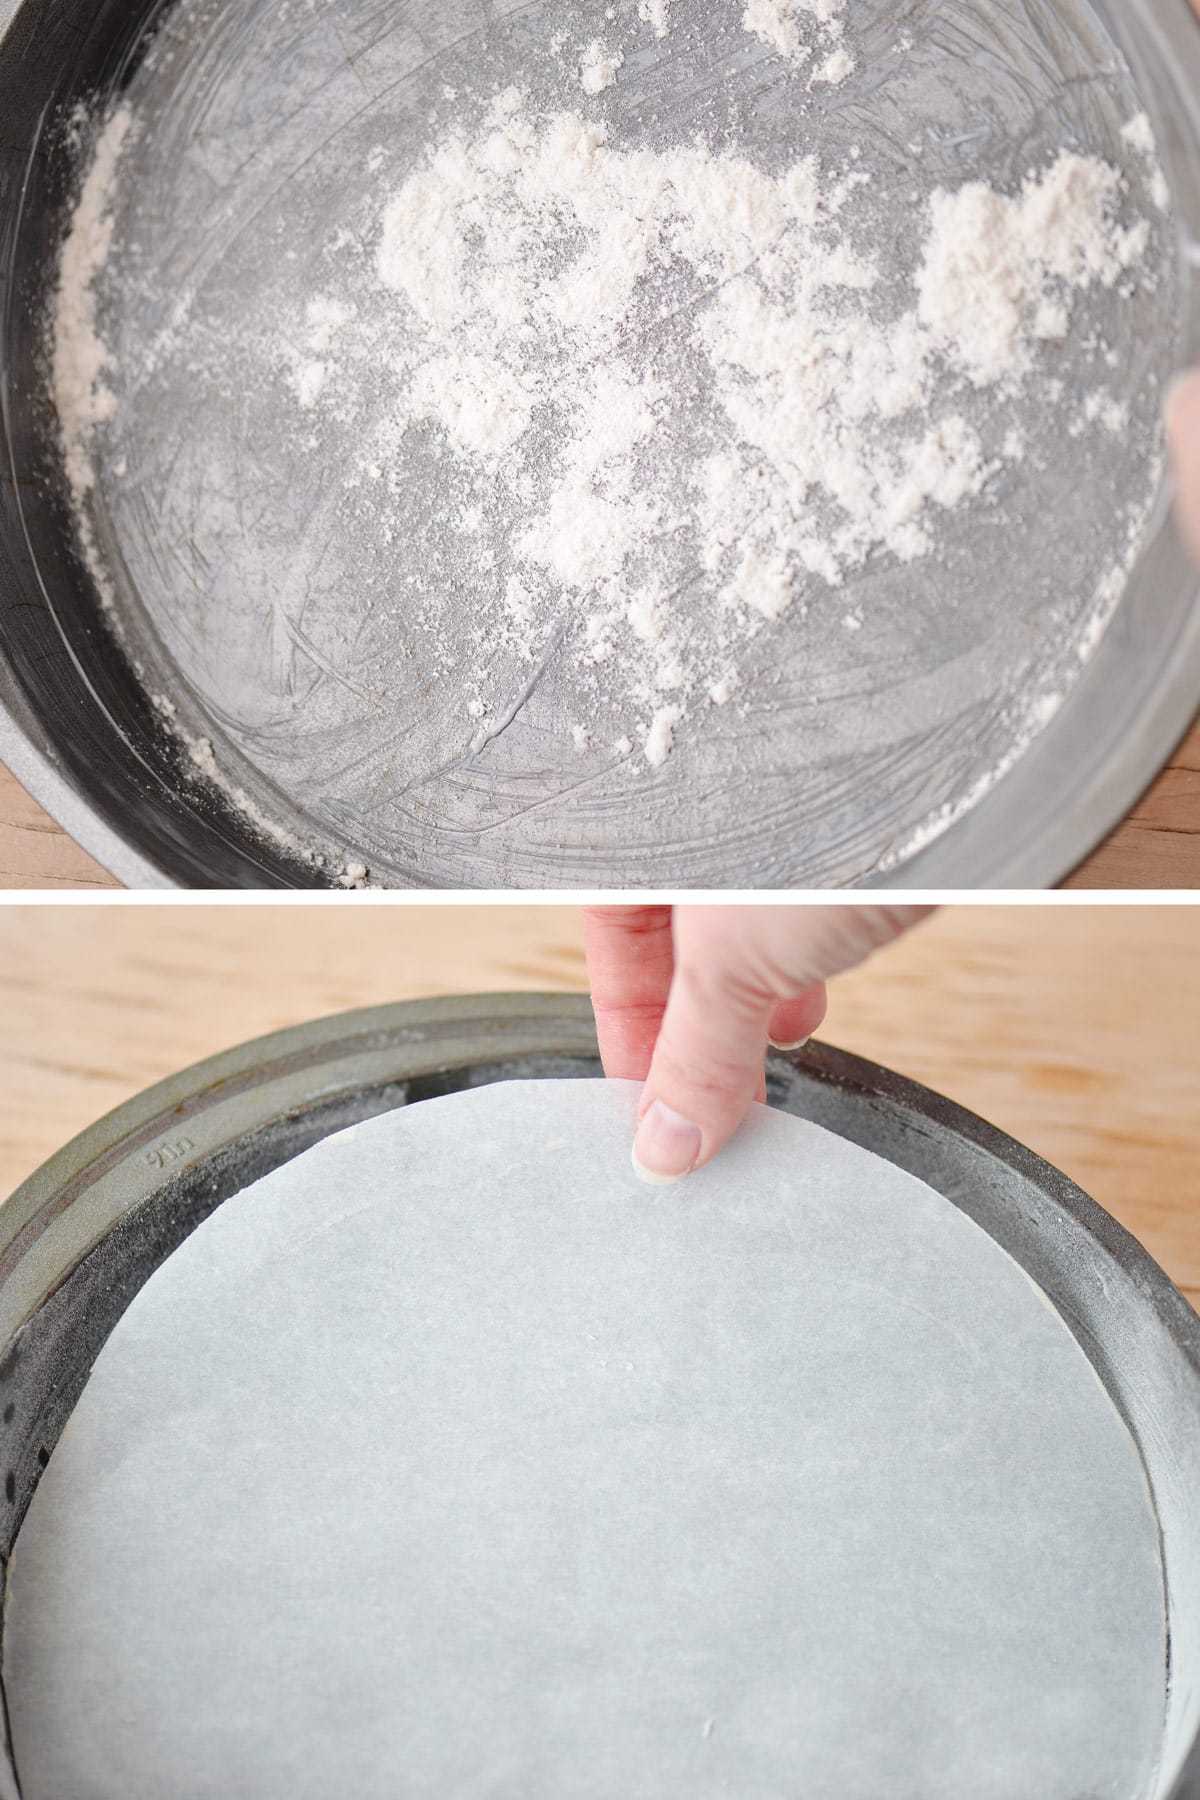
To make this Easter cake recipe, start by preheating the oven to 325˚F degrees. Next, prepare three 9-inch cake pans. Generously grease the pans with shortening.
A quick kitchen tip for greasing pans: put your hand in a plastic sandwich bag, use your plastic-covered fingers to grease the pan, and turn the bag inside out as you pull it off your hand and toss it in the garbage.
Then, sprinkle some flour in the cake pan. Tip the pan and turn it in circles, gently tapping the pan as needed to flour the pan’s bottom and sides completely. Turn the pan upside down over the sink to remove any excess flour.
Finally, trace the bottom of the pans on parchment paper and cut out parchment circles to line the bottom of each pan.
Make the Colorful Cake Batter
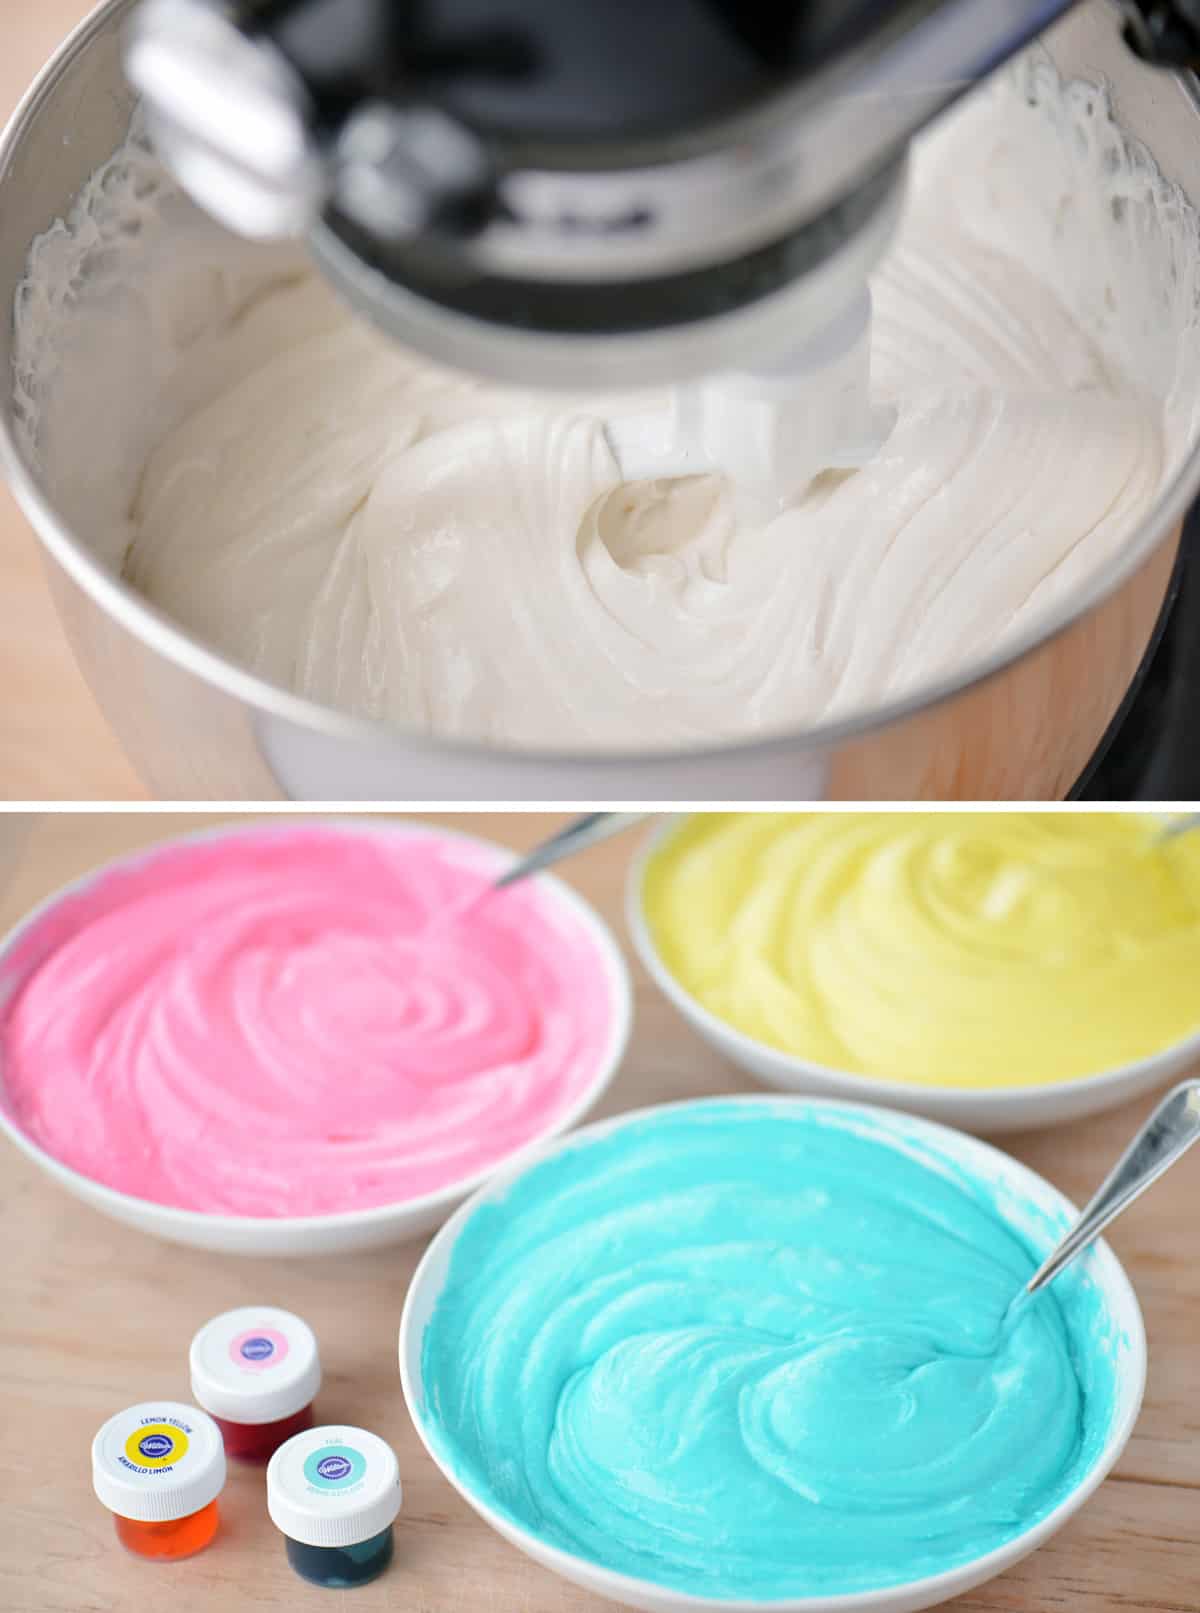
Put two white cake mixes (I used Pillsbury Moist Supreme Classic White Cake Mix), vanilla yogurt, water, egg whites, and oil in a large mixer bowl. Mix for 30 seconds until moistened. Then, beat for 2 minutes.
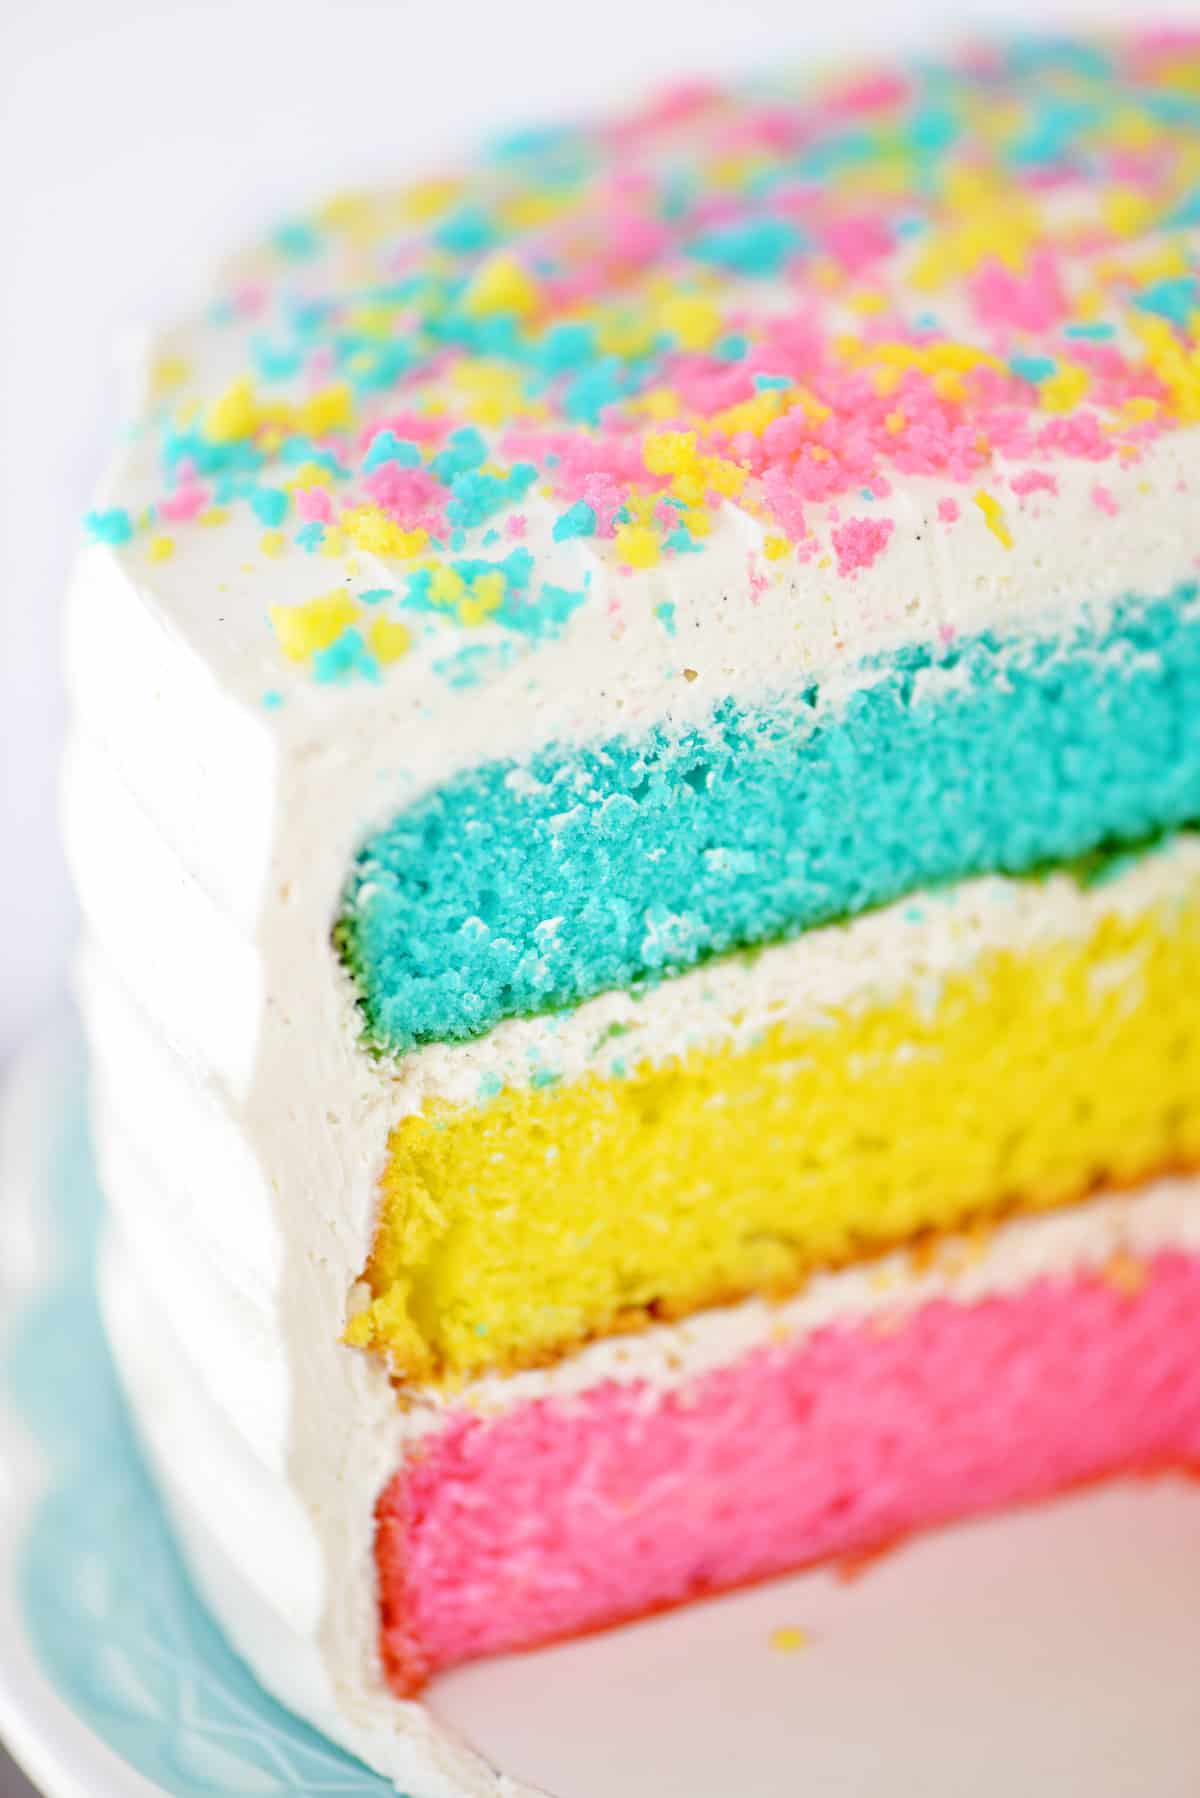
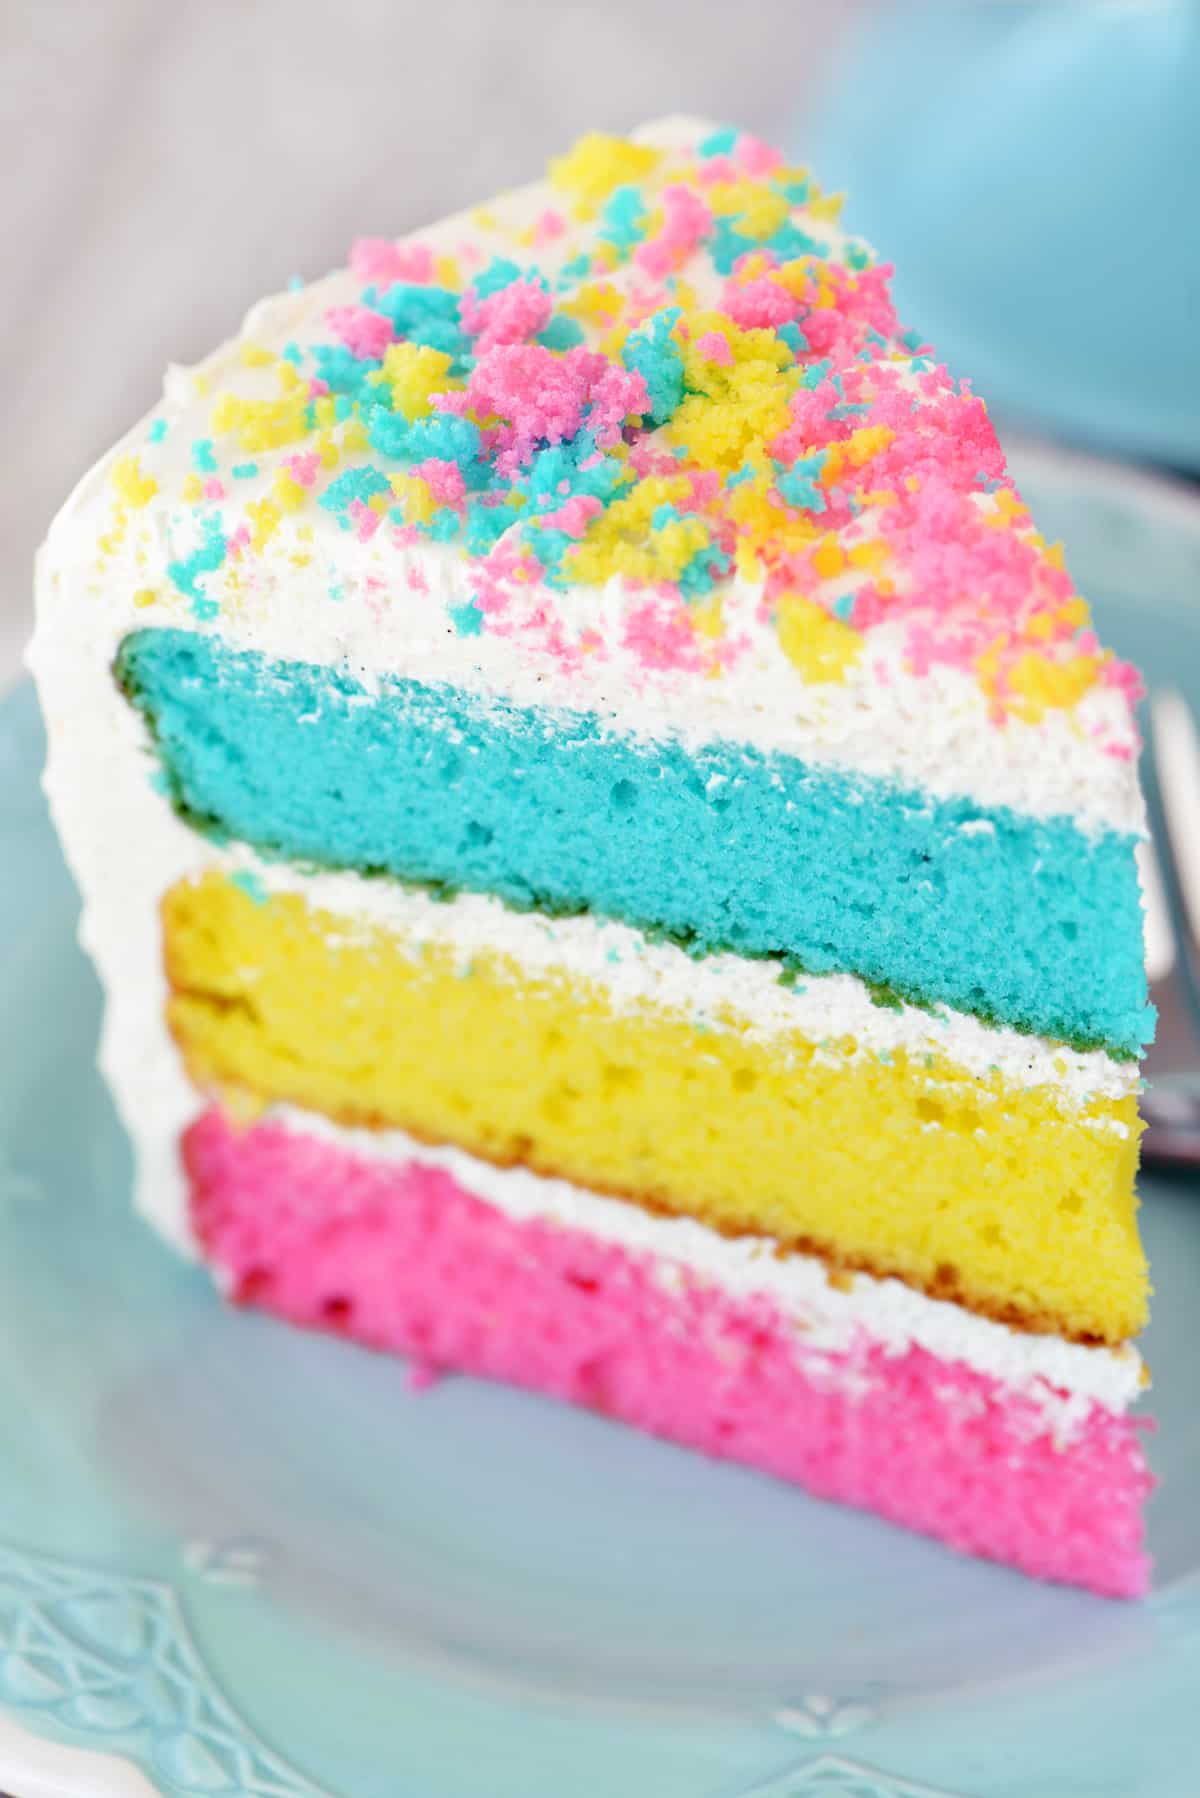
The batter will be thick. Measure three cups of batter into three separate bowls (3 cups of batter in each bowl). Tint the batter with your desired colors. I used Wilton Icing Gel in lemon yellow, teal, and pink.
Bake the Cakes
Spread the batter into the prepared pans and firmly tap the pans on the counter a couple of times. Bake the cakes at 325˚F for 35-45 minutes or until a toothpick inserted in the center comes out clean. Allow the cakes to cool for 30 minutes on a wire rack.
Cool and Level the Cakes
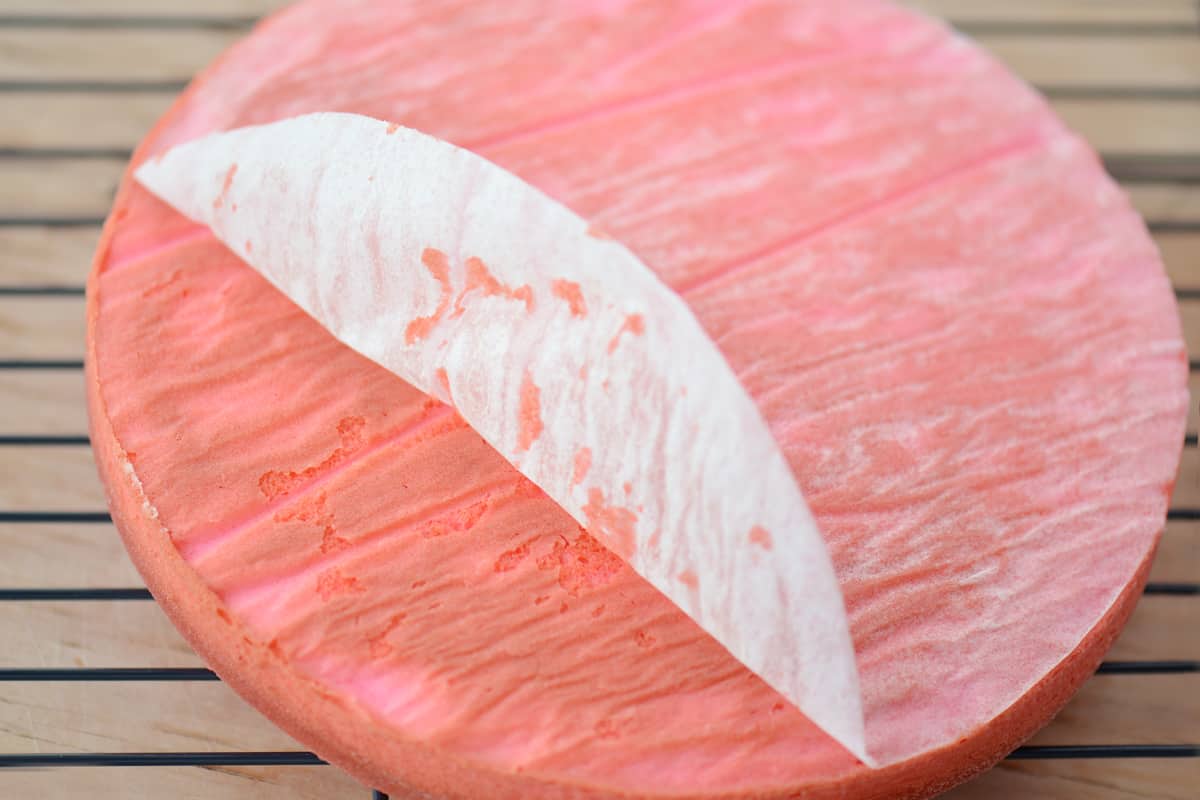
Carefully remove the cakes from the pans and peel off the parchment circles. Cool the cakes completely on a wire rack.
Once the cakes are cool, level them with a serrated knife by cutting off the rounded tops. Set the cake tops aside for later.
How To Frost A Layer Cake
Prepare the Frosting
Use a stand and or mixer to beat a package of softened cream cheese until smooth. Mix in the powdered sugar.
Beat in the marshmallow cream and vanilla bean paste until smooth. Gently stir in the thawed Cool Whip by hand.
Frost the Easter Cake Layers
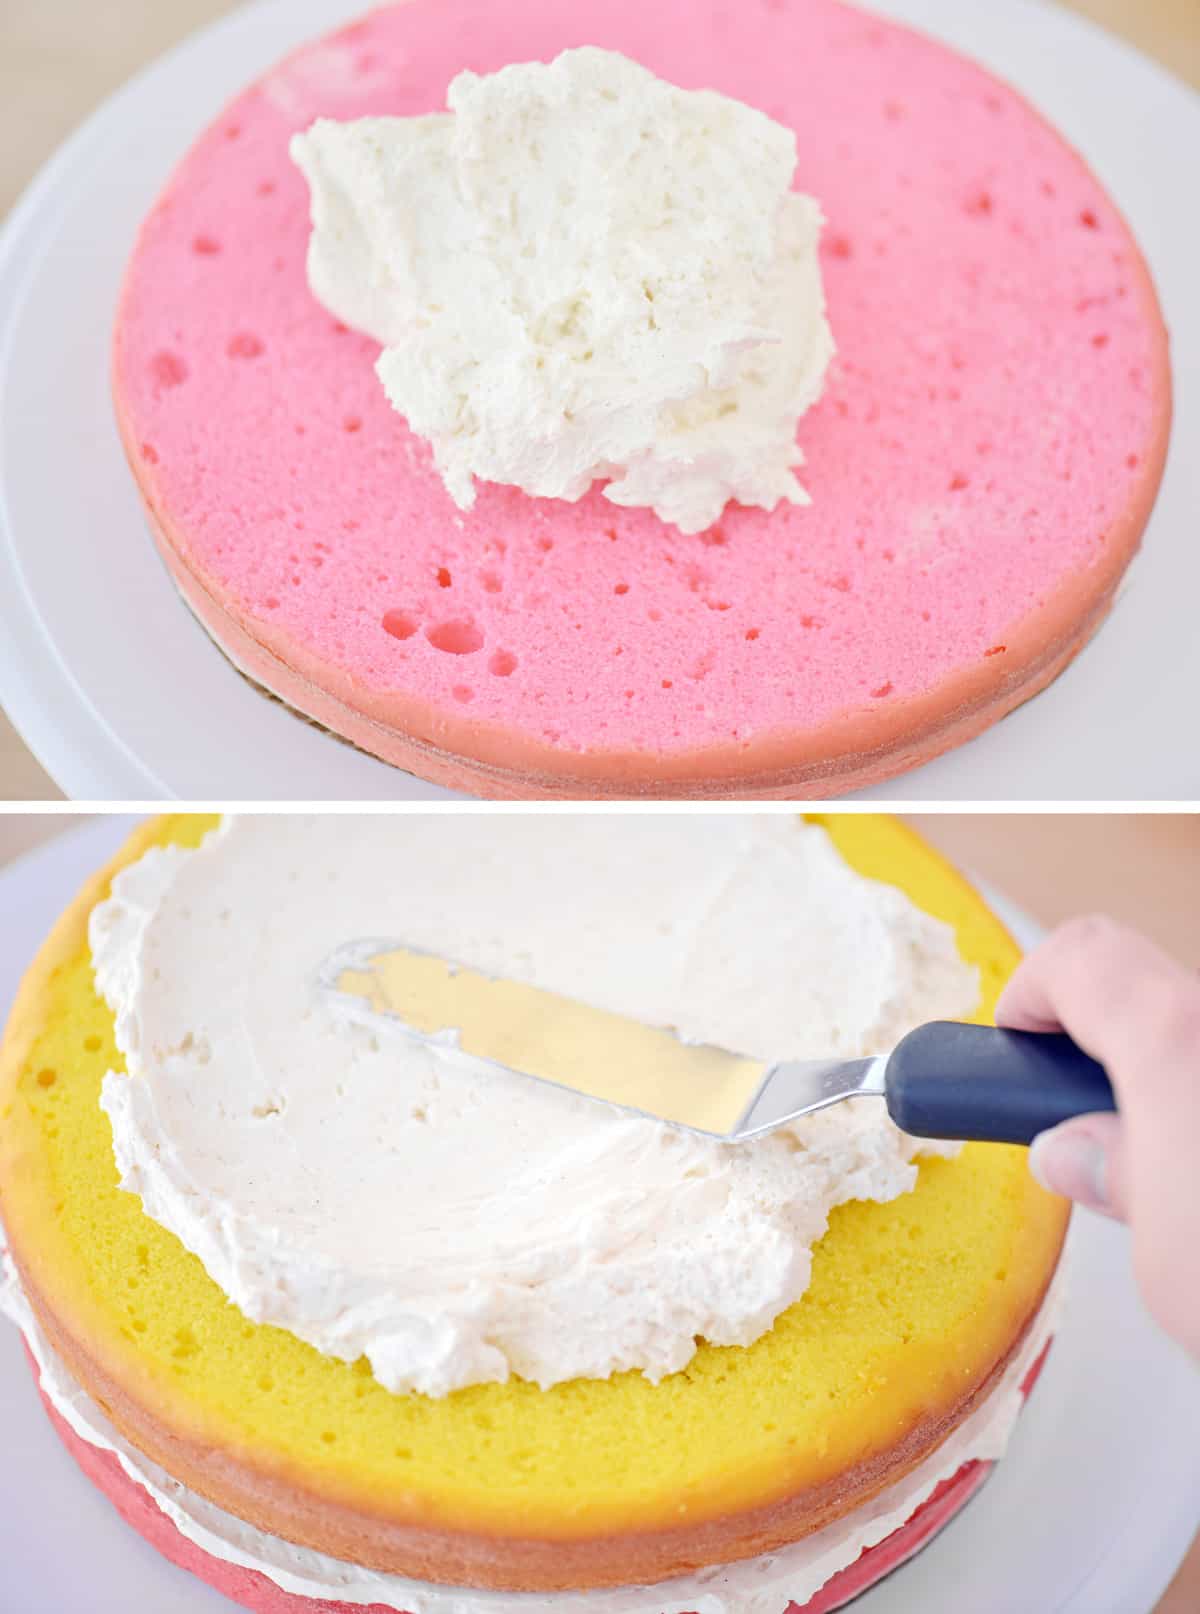
Place the first cake layer on a cardboard cake round on a cake decorating turntable, or place it directly on your cake platter.
Put one cup of frosting on the first layer and use an offset spatula to spread it from the center out to cover the top of the cake, rotating the turntable as you go.
Center the second cake layer on top of the first and cover it with a cup of frosting.
Frost the Top and Sides
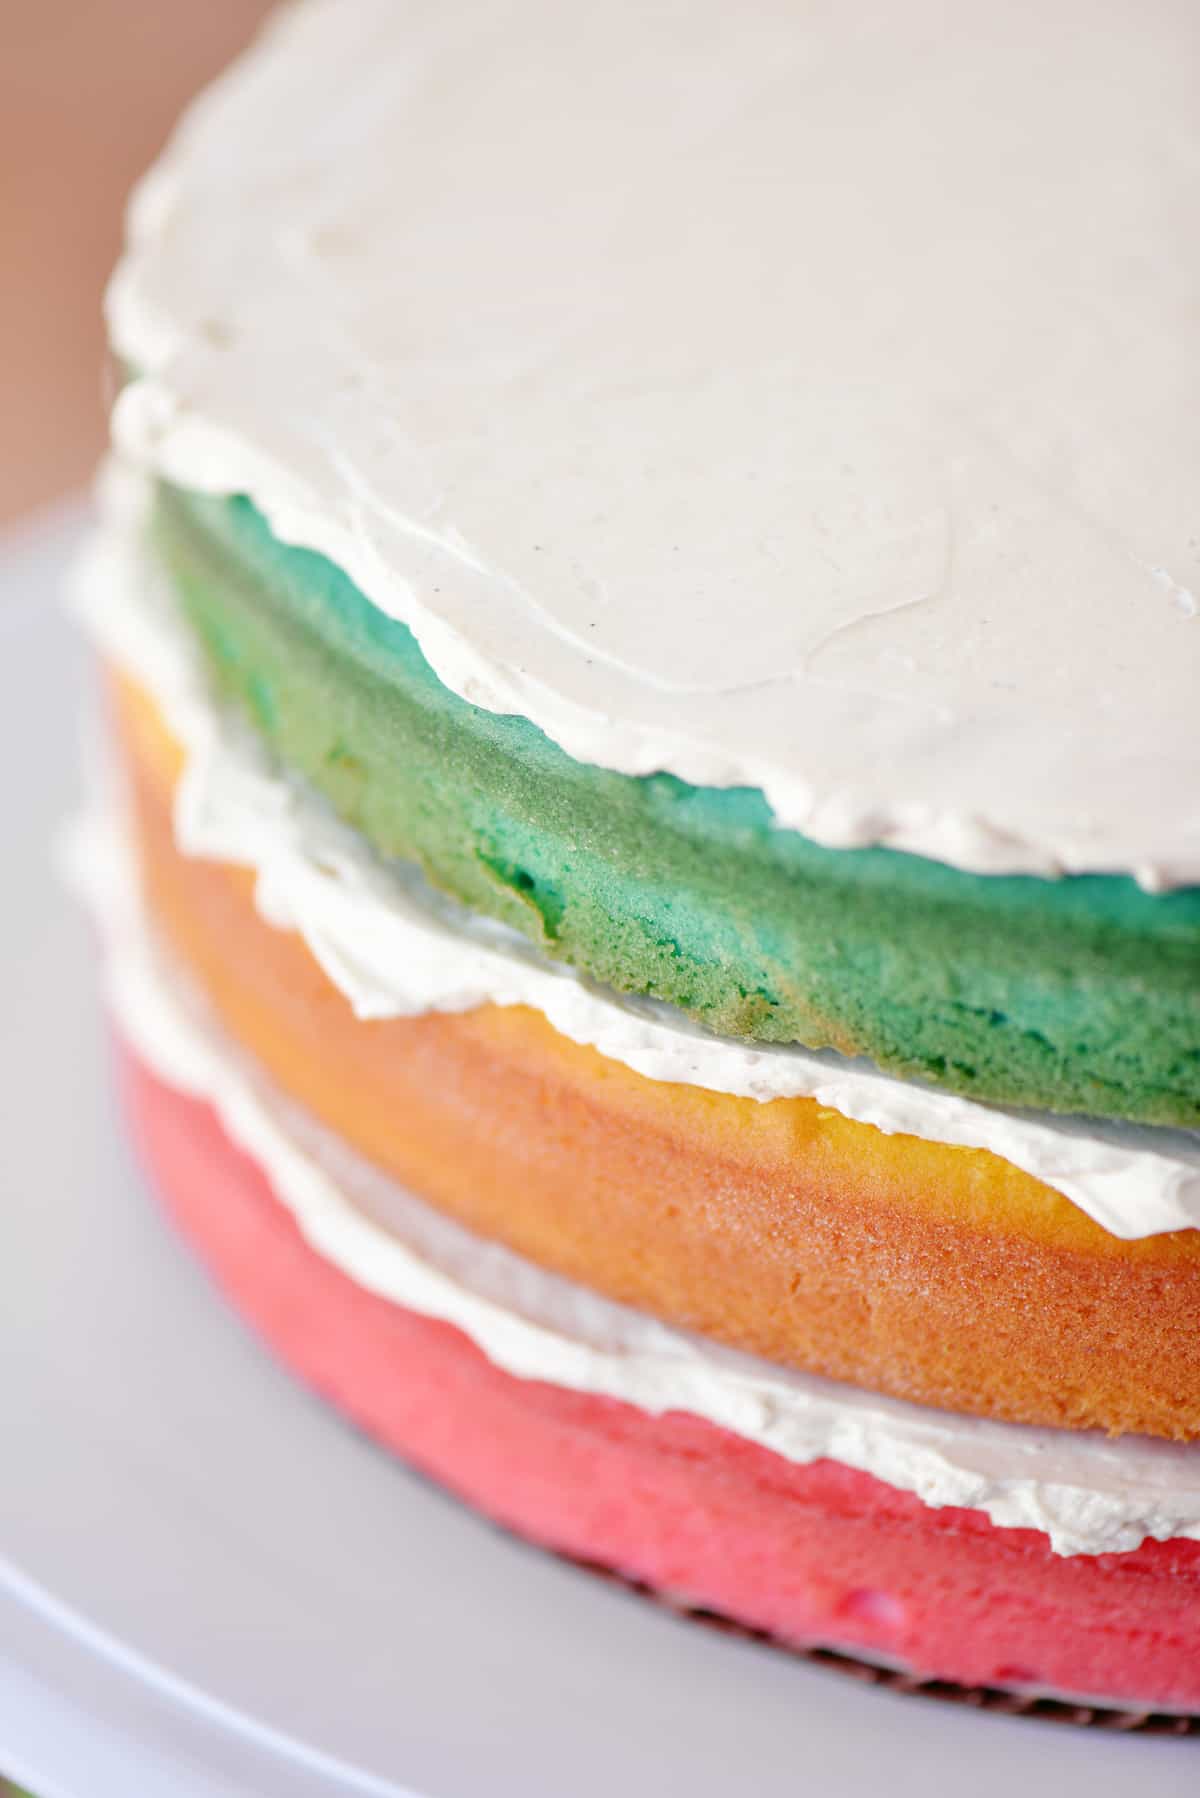
Place the third cake layer on top and use the remaining frosting to cover the top and sides of the cake.
Make Frosting Ruffles
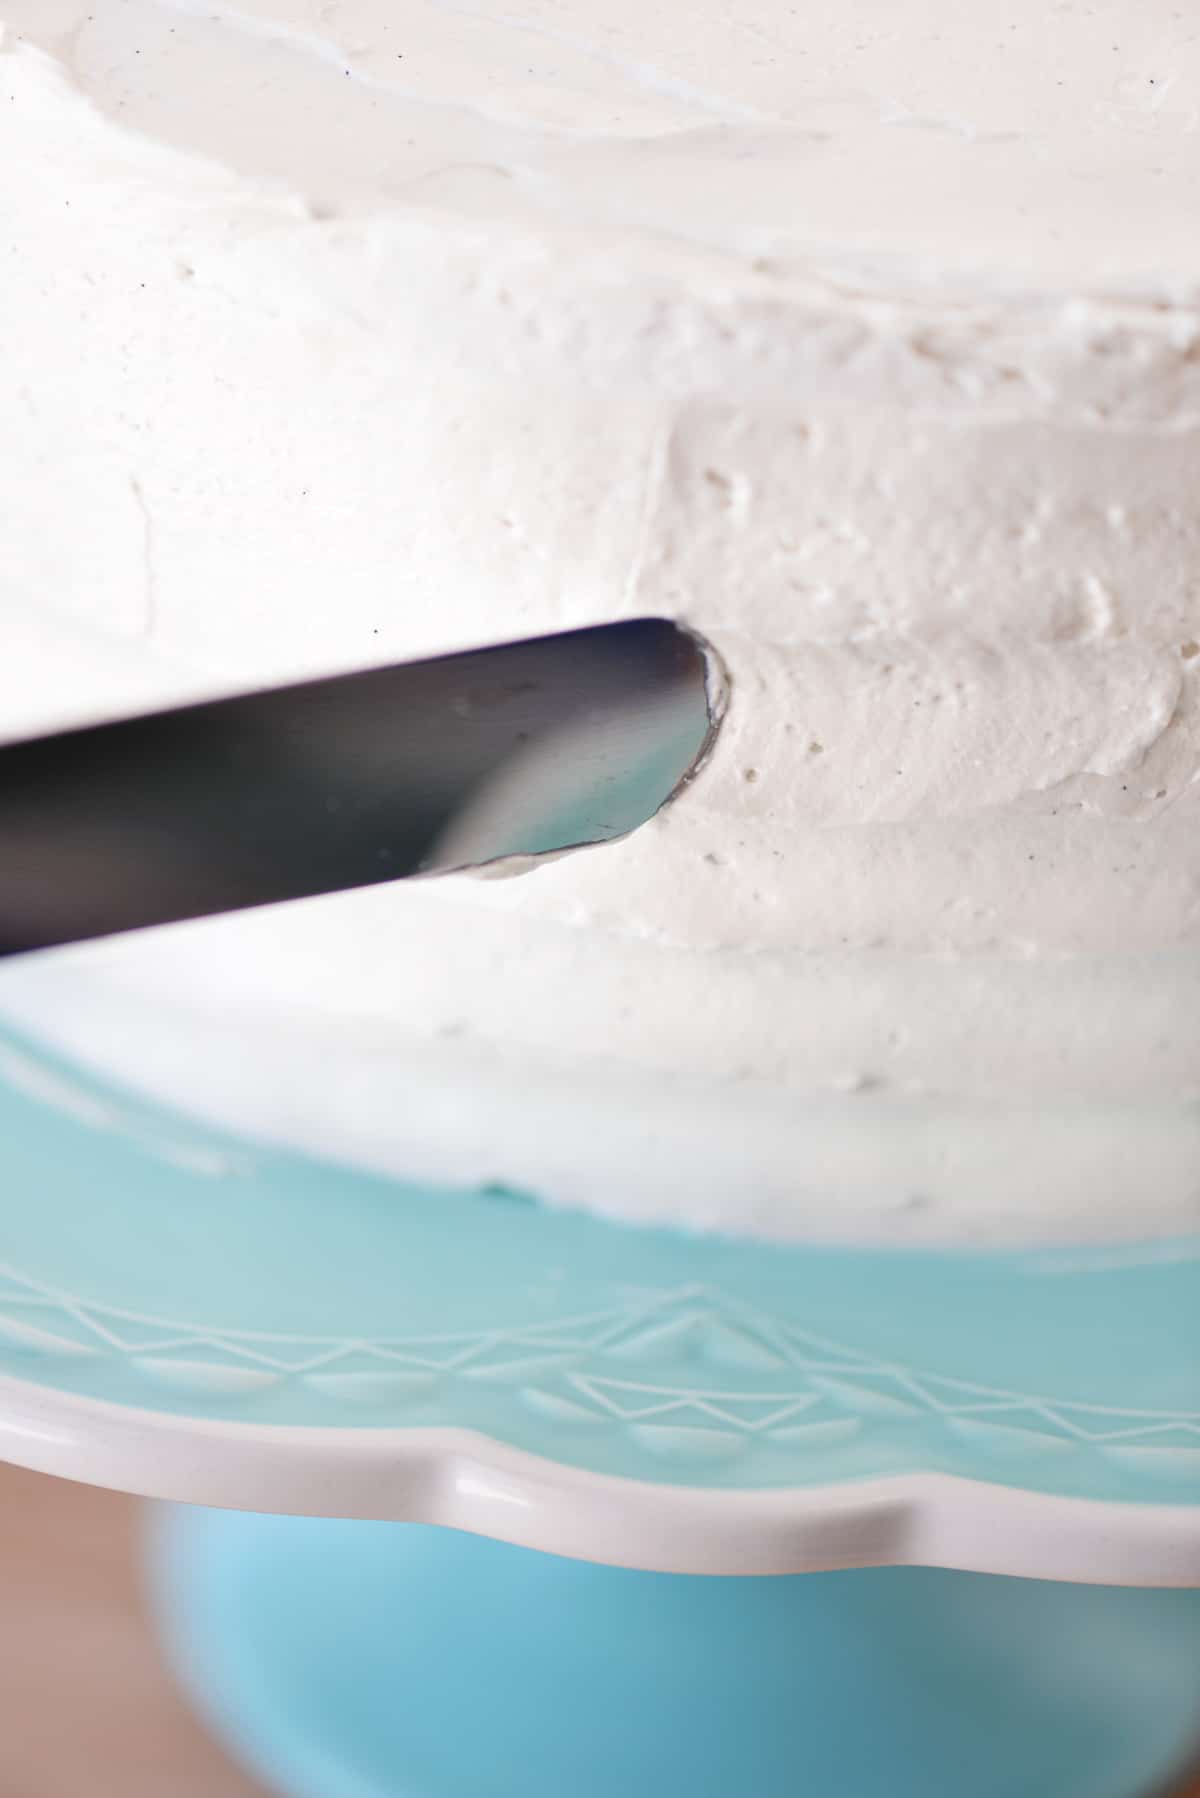
Use an offset spatula to make rustic ruffles around the sides and the top.
Start with making them on the sides of the cake. Hold the tip of the offset spatula in the frosting and turn the cake platter until you get back to where you started. Continue making ruffles, moving up the cake after each ruffle.
To make ruffles on the top of the cake, hold the tip of the spatula at an angle in the center of the cake and turn the cake platter while slowly moving the spatula to make bigger and bigger spirals.
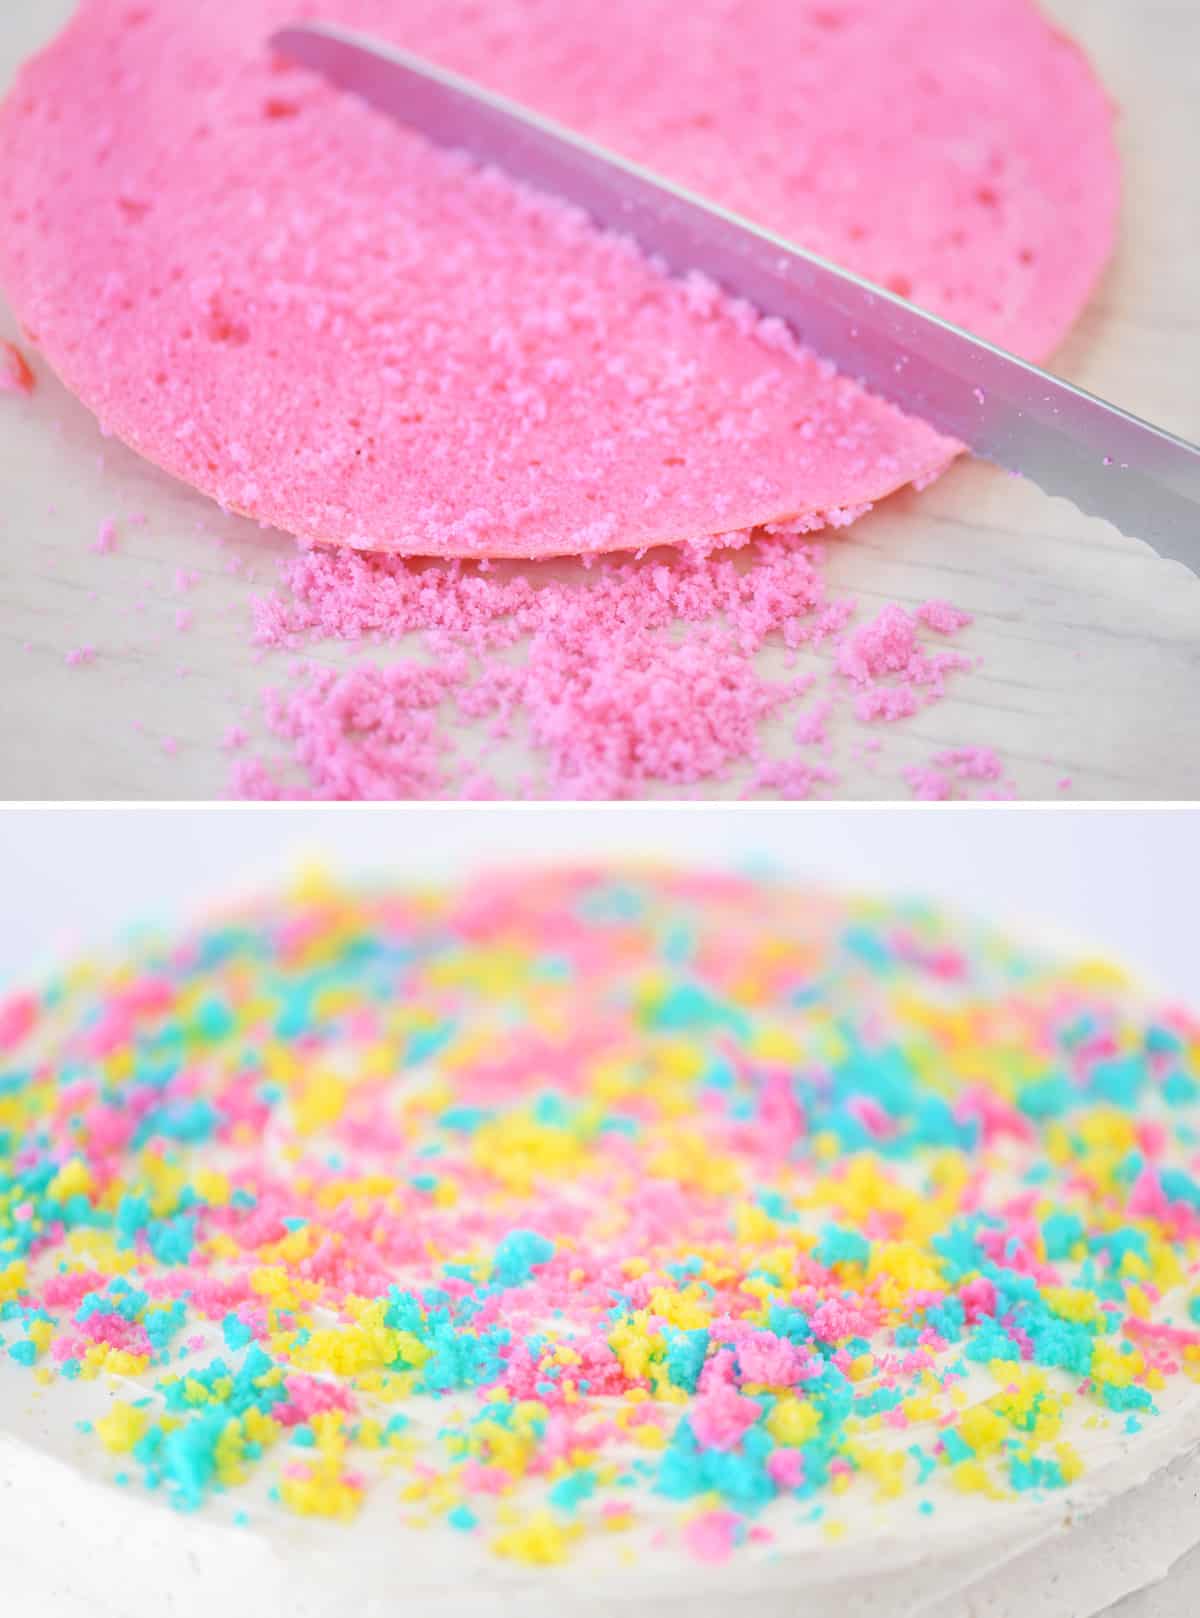
After looking through my supply of sprinkles, I realized that I didn’t have any that matched the cake. So, I checked my local grocery store, but they didn’t have the right colors either. One of the joys of living in a small town!
So, I improvised and used cake crumbs from the cake tops that I saved after leveling the cakes. Set the cake top on a piece of waxed paper and use a serrated knife to gently scrape crumbs off of the cake onto the waxed paper. Repeat this with each of the cake tops.
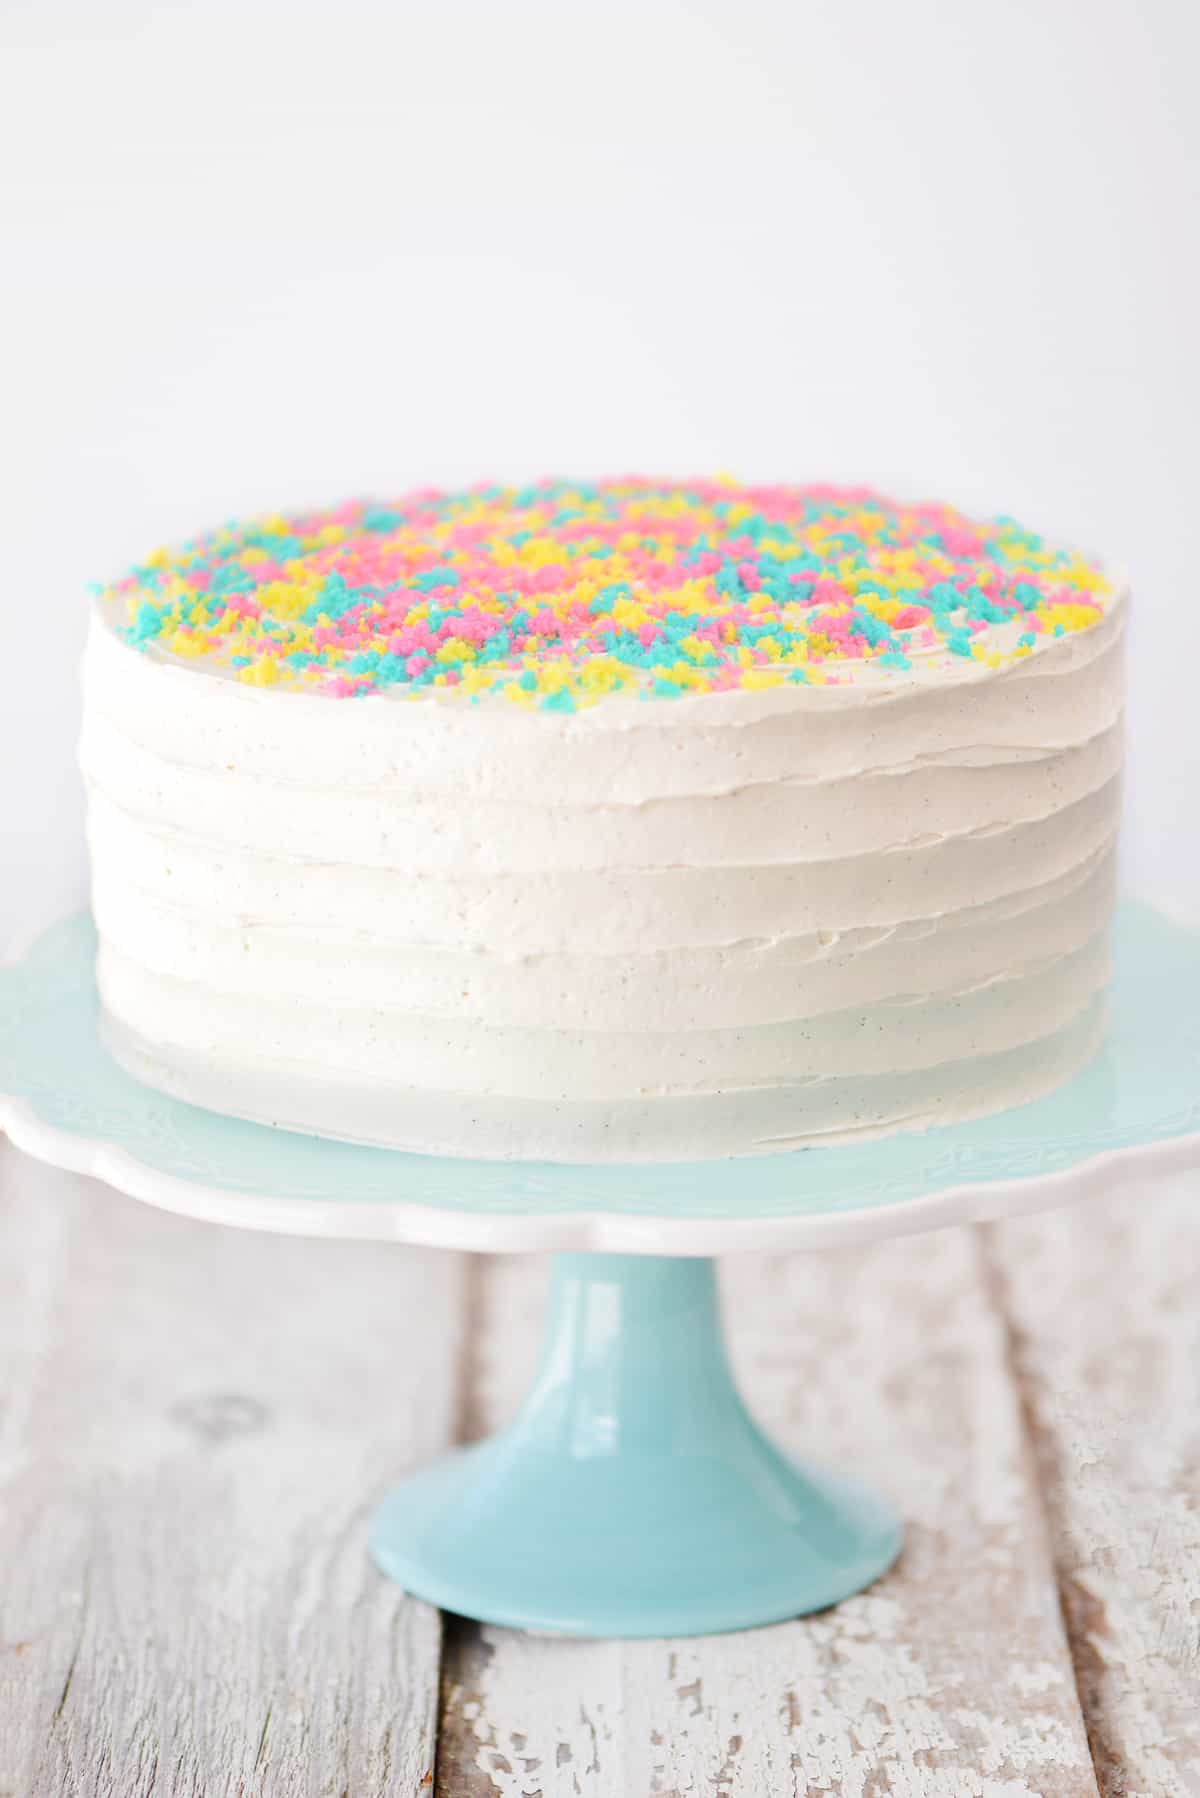
Sprinkle the cake crumbs on the top of the Easter cake. The cake crumb sprinkles look so adorable!
Easter Cake Storage
Since the frosting includes cream cheese, you need to store the Easter cake in the fridge or freezer until ready to serve.
- Short-Term Storage: If you plan to serve the cake the same day you frost it, you can leave the cake uncovered in the fridge.
- Overnight Storage: To store the cake in the fridge for 2-3 days, chill the cake until the frosting is set. Then, cover it with plastic wrap and return it to the fridge for storage.
- Long-Term Storage: Chill the cake in the freezer until the frosting is hard. Then, tightly wrap it with layers of plastic wrap. Freeze the cake for up to four weeks. Thaw the cake in the fridge before serving.
More Easter Recipes
- Make cute Easter Bunny Strawberries and strawberry carrots, too.
- This Cadbury Mini Eggs Cake is covered with candies!
- Fill these Chocolate Nests with edible grass and treats.
- Robin’s Egg Meringue Cookies are perfect for spring.
Easter Cake Recipe
Ingredients
- (2) 15.25 ounce white cake mixes
- 1 ½ cups vanilla yogurt
- 1 cup water
- 8 egg whites
- ½ cup vegetable oil
Fluffy Vanilla Bean Frosting
- 8 ounce package cream cheese softened
- 2 cups powdered sugar
- ¾ cup marshmallow cream
- 3 teaspoon vanilla bean paste or substitute an equal amount of vanilla extract
- 16 ounces Cool Whip, thawed about 6 1/2 cups
Instructions
Cakes
- Preheat the oven to 325˚F.
- Generously grease and flour three 9-inch cake pans. Line them with parchment circles.
- Mix together the cake mixes, vanilla yogurt, water, egg whites, and oil for about 30 seconds until moistened. Beat for two minutes. The batter will be thick.
- Put three cups of batter in three separate bowls (3 cups of batter in each bowl). Tint the batter in the colors you want. I used Wilton Icing Gel in lemon yellow, teal, and pink.
- Spread the batter into the prepared pans and firmly tap the pans on the counter a couple of times to remove air bubbles.
- Bake at 325˚F for 35-45 minutes or until a toothpick inserted in the center comes out clean.
- Allow the cakes to cool in the pans for 30 minutes on a wire rack.
- Carefully remove the cakes from the pans, peel off the parchment circles, and cool completely on wire racks.
Fluffy Vanilla Bean Frosting
- Use a mixer to beat a package of softened cream cheese until smooth.
- Mix in the powdered sugar.
- Beat in the marshmallow cream and vanilla bean paste (or vanilla extract) until smooth.
- Gently stir in the thawed Cool Whip by hand.
Assembly
- Once the cakes the cooled, level the cakes by using a serrated knife to cut off the rounded tops. Set the cake tops aside for later.
- Place the first cake layer on a cardboard cake round on a cake decorating turntable, or you can place it directly on your cake stand if you prefer. Use an offset spatula to spread one cup of the frosting on the first layer. Add the second cake layer and top with another cup of frosting.
- Add the third cake layer and use the remaining frosting to cover the top and sides of the cake.
- Use the tip of an offset spatula to make rustic ruffles around the sides and the top.
- Gently scrape cake crumbs from the reserved cake tops with a serrated knife. Sprinkle them on the top of the cake.
Notes
- Short-Term Storage: If you plan to serve the cake the same day you frost it, you can leave the cake uncovered in the fridge.
- Overnight Storage: To store the cake in the fridge for 2-3 days, chill the cake until the frosting is set. Then, cover it with plastic wrap and return it to the fridge for storage.
- Long-Term Storage: Chill the cake in the freezer until the frosting is hard. Then, tightly wrap it with layers of plastic wrap. Freeze the cake for up to four weeks. Thaw the cake in the fridge before serving.


Leave A Review