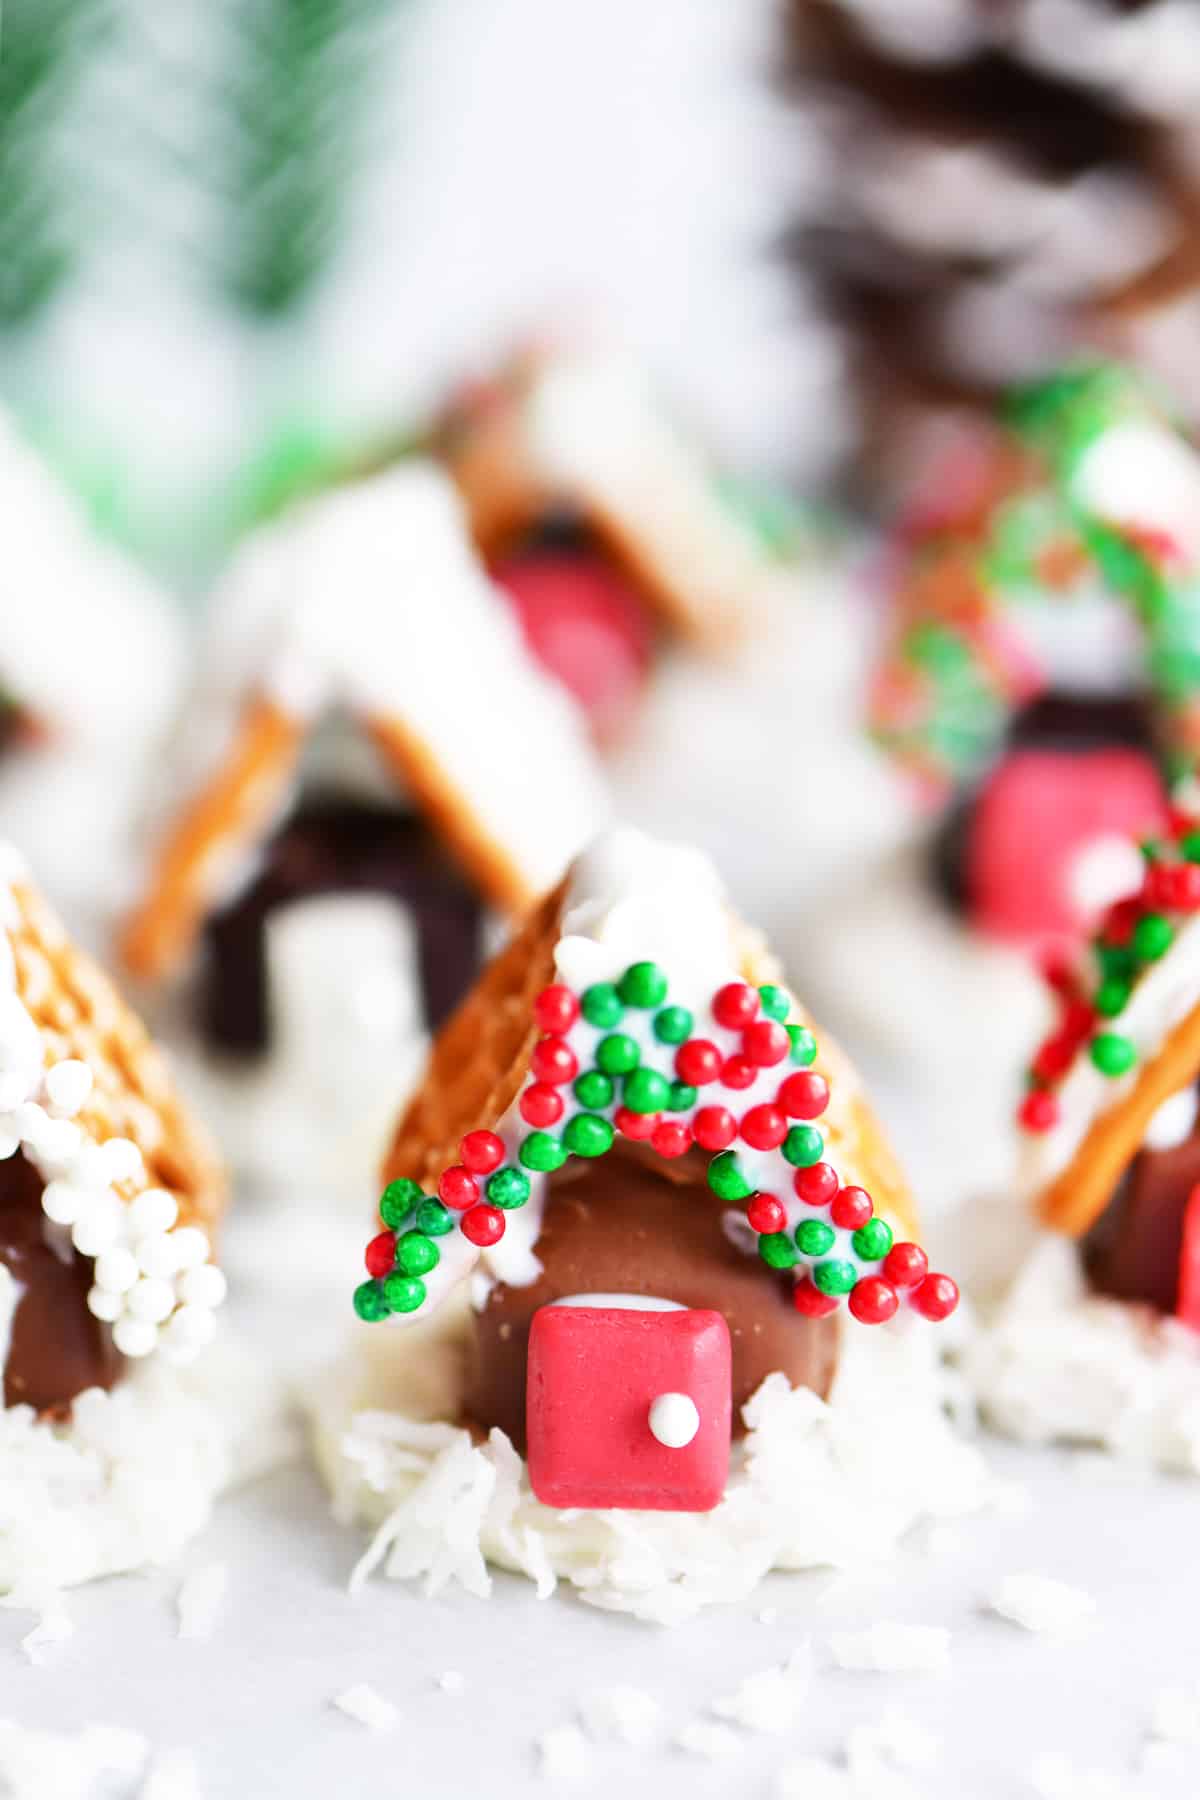
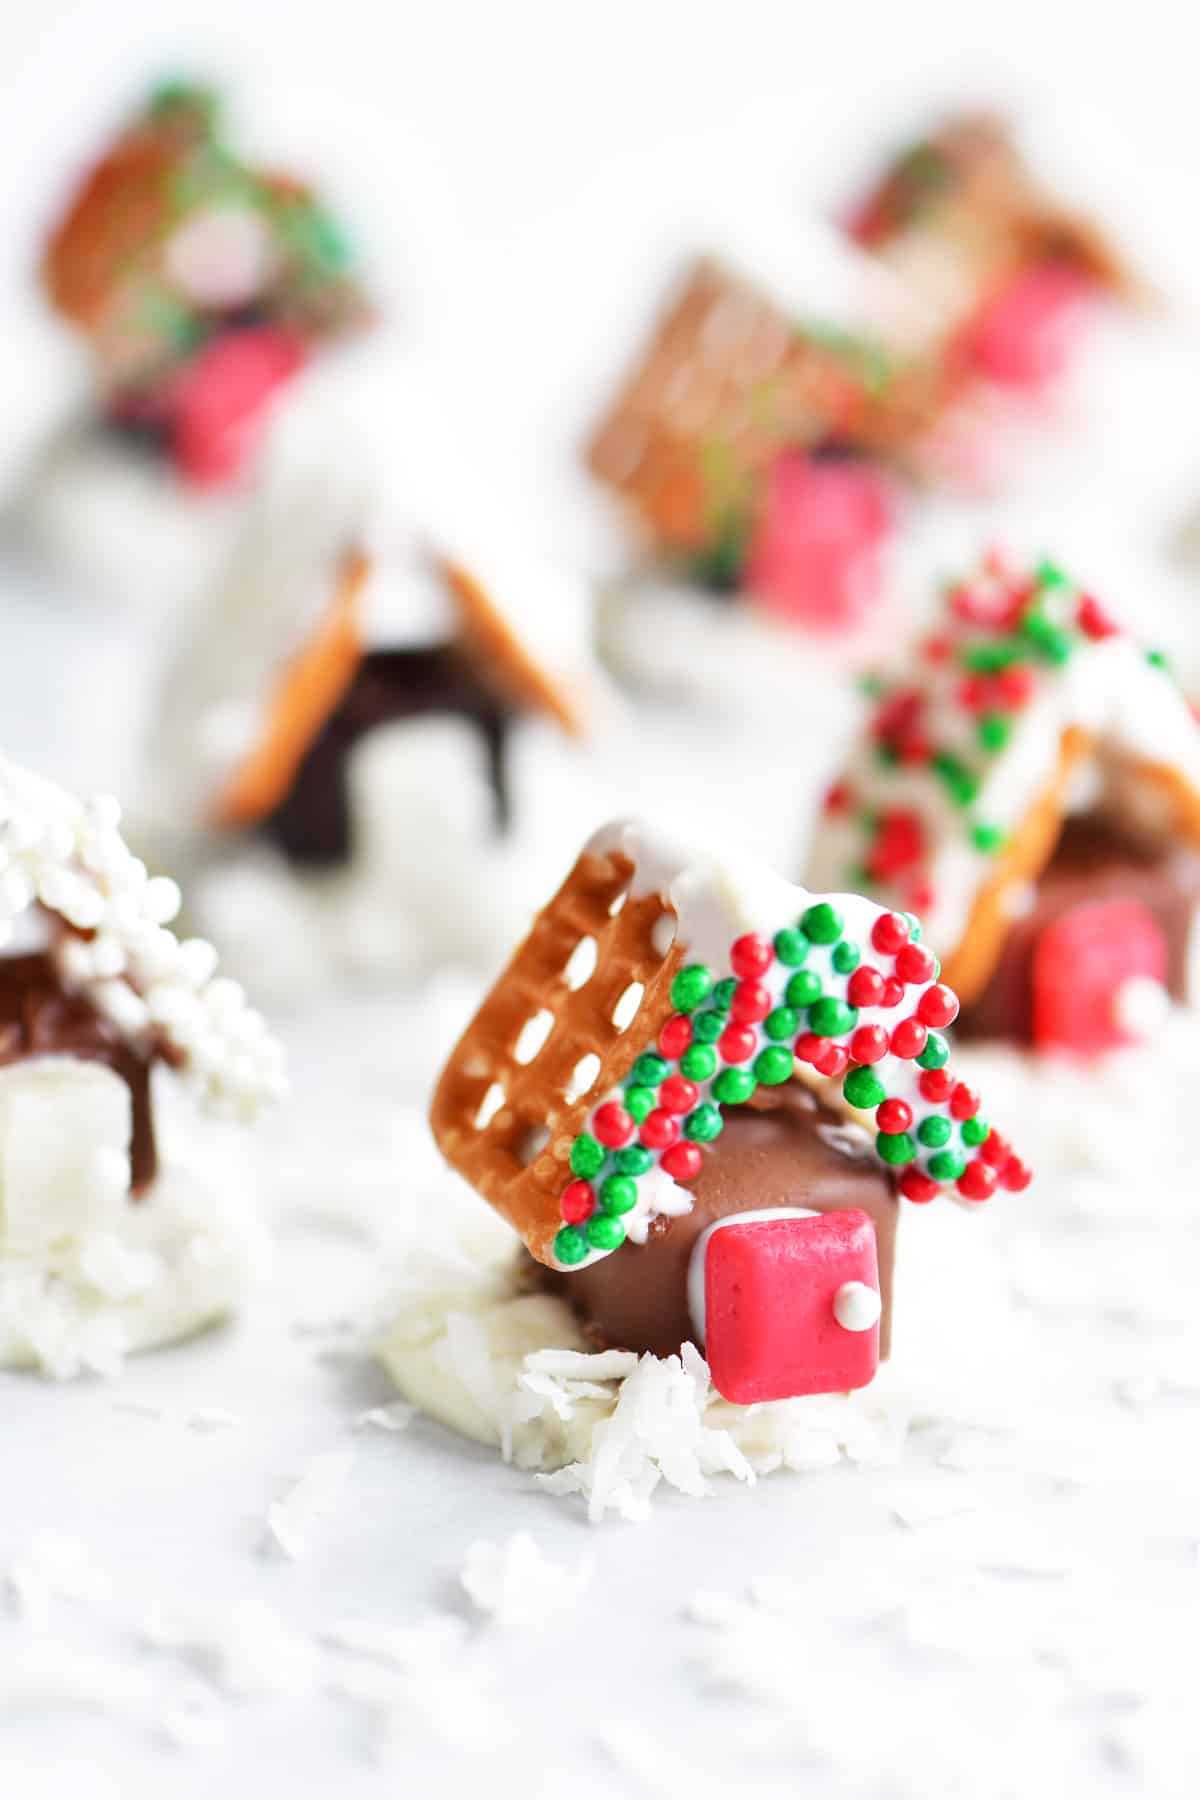
Mini Candy Houses are EASY to make, FUN to decorate and look ADORABLE served at holiday parties. Kids LOVE to help make these BITE-SIZED gingerbread houses!
One of our favorite holiday traditions from when our kids were little is making candy houses using graham crackers, frosting and lots of candy. Now that the kids are older, they like to make candy houses with their friends and so do we! Check out this tiki hut “gingerbread house” me and Brian made a couple of years ago.
This year we went all hipster and made chose a tiny house over a grand gingerbread house. These mini candy houses are so easy and the choices of decorations are unlimited! You can make a whole village in no time.
Disclaimer: This post contains links to products for making this recipe. If you use those links, I may earn a commission. Learn more here.
Where is the Mini Candy Houses Recipe? In this post, I will share step-by-step instructions with photos for how to make the mini candy houses, as well as answering FAQs about the recipe, giving suggestions for more ways to decorate and showing a video of the recipe. But you can go directly to the recipe by scrolling down to the bottom of the post.
How To Make Mini Candy Houses
Step One: Candy House Base
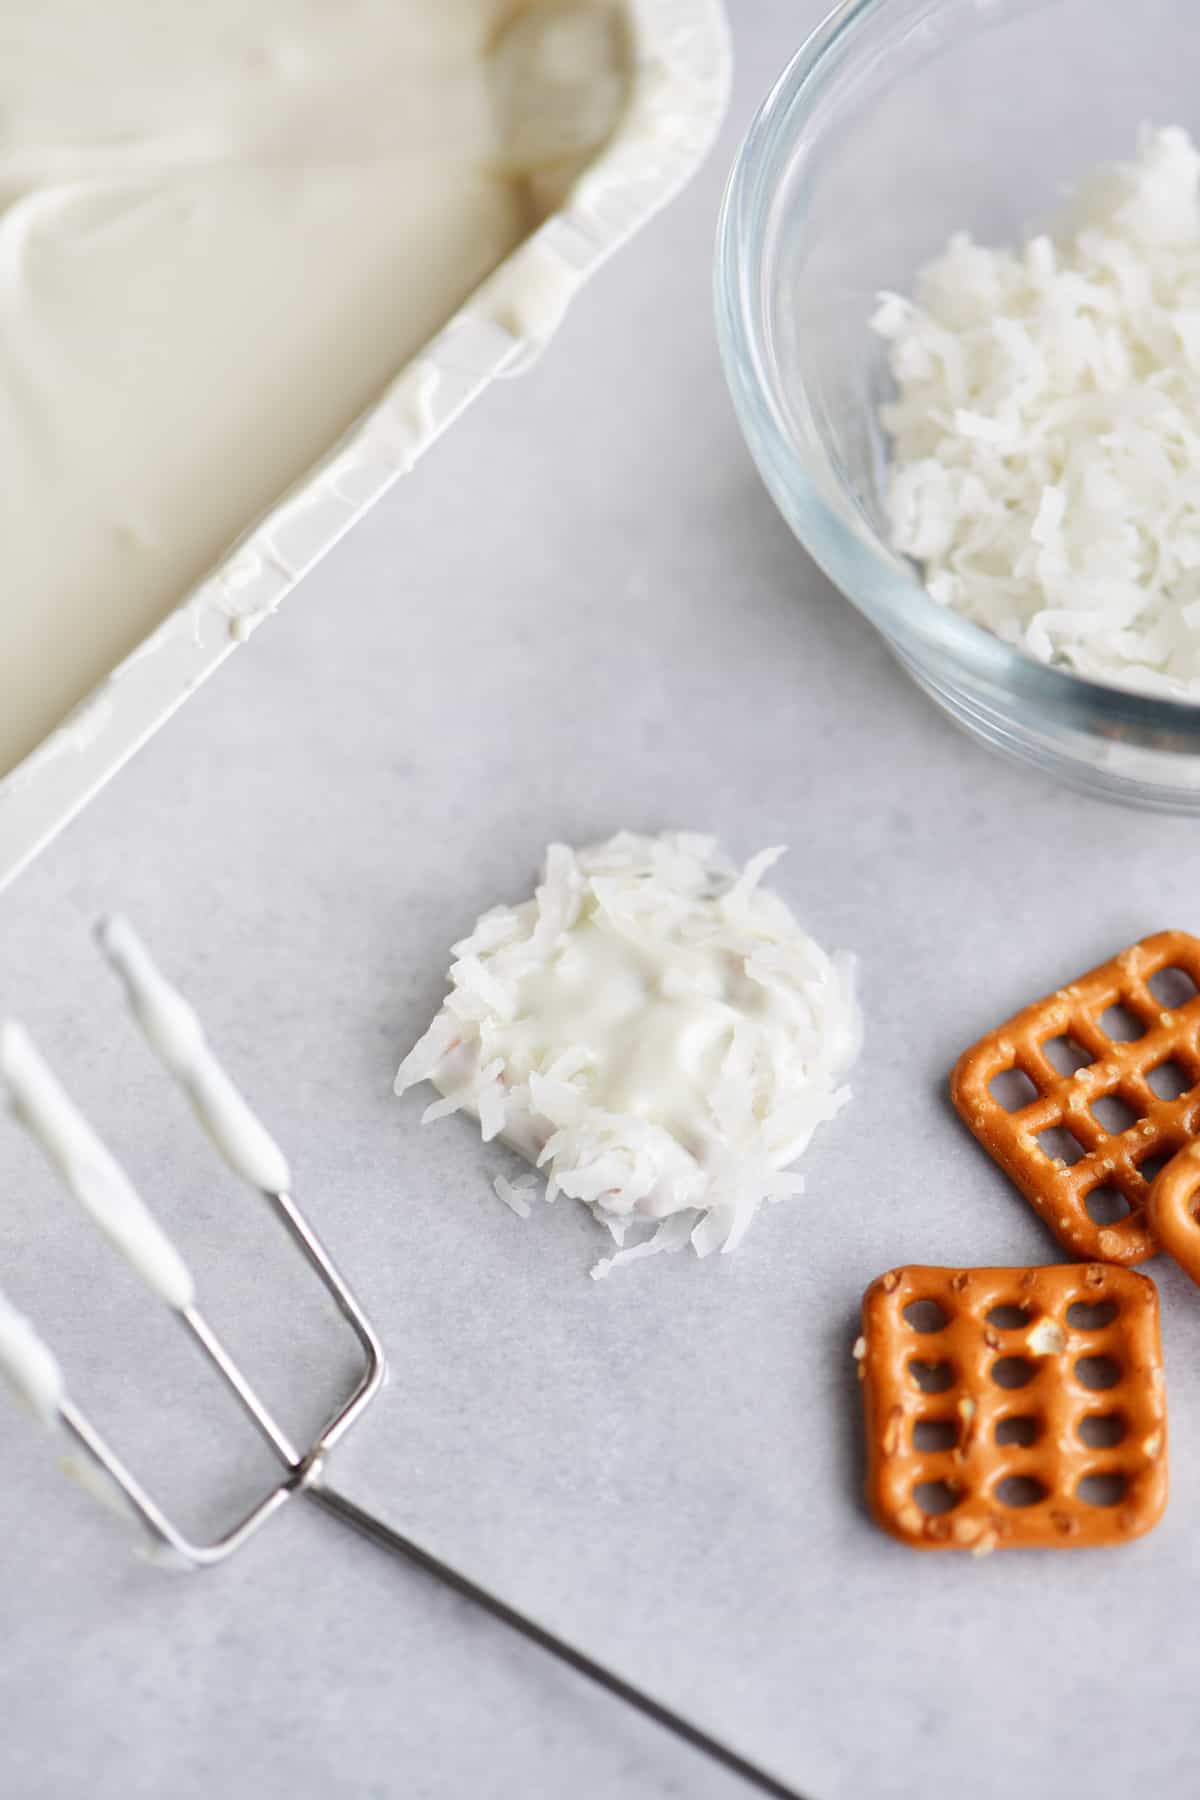
Before dipping the pretzel in the almond bark, prepare the shredded coconut so that it is ready. I wanted smaller bits of shredded coconut so I used my kitchen shears to snip them into little pieces. Then, put the coconut bits into a small bowl.
To hold the mini candy houses together, you can use vanilla almond bark, white or vanilla candy coating, or white chocolate chips. Just follow the instructions on the package of whichever one you choose to melt it.
Dip a square pretzel in the melted candy coating (I used this dipping fork), place it on parchment paper and cover the edges with shredded coconut leaving a space in the center for the candy bar.
Step Two: Candy Bars
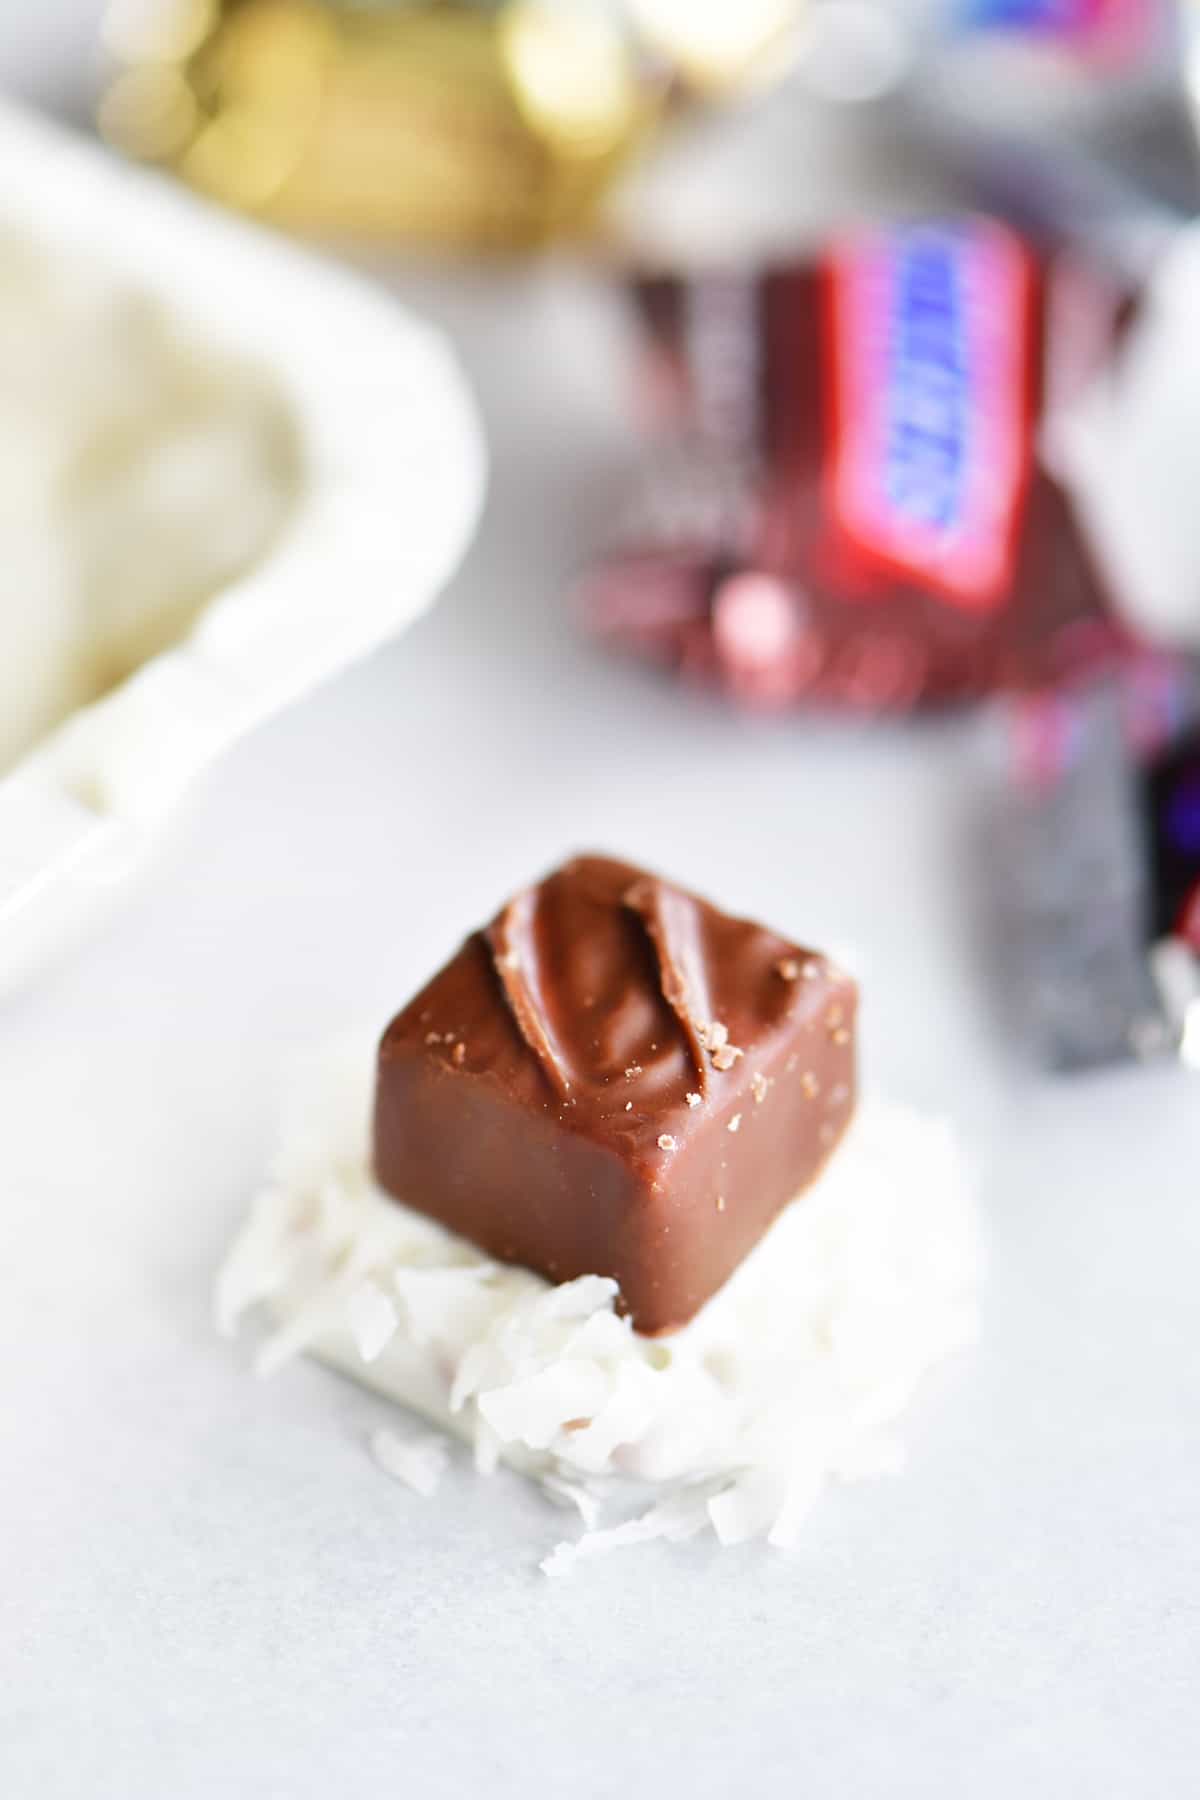
The house in these mini candy houses is a bite-sized candy bar. The bag came with a mix of Twix, Snickers, Milky Way, Milky Way Dark, and 3 Musketeers. All of them work great except the Twix because they are too long so set those aside.
Step Three: Roof
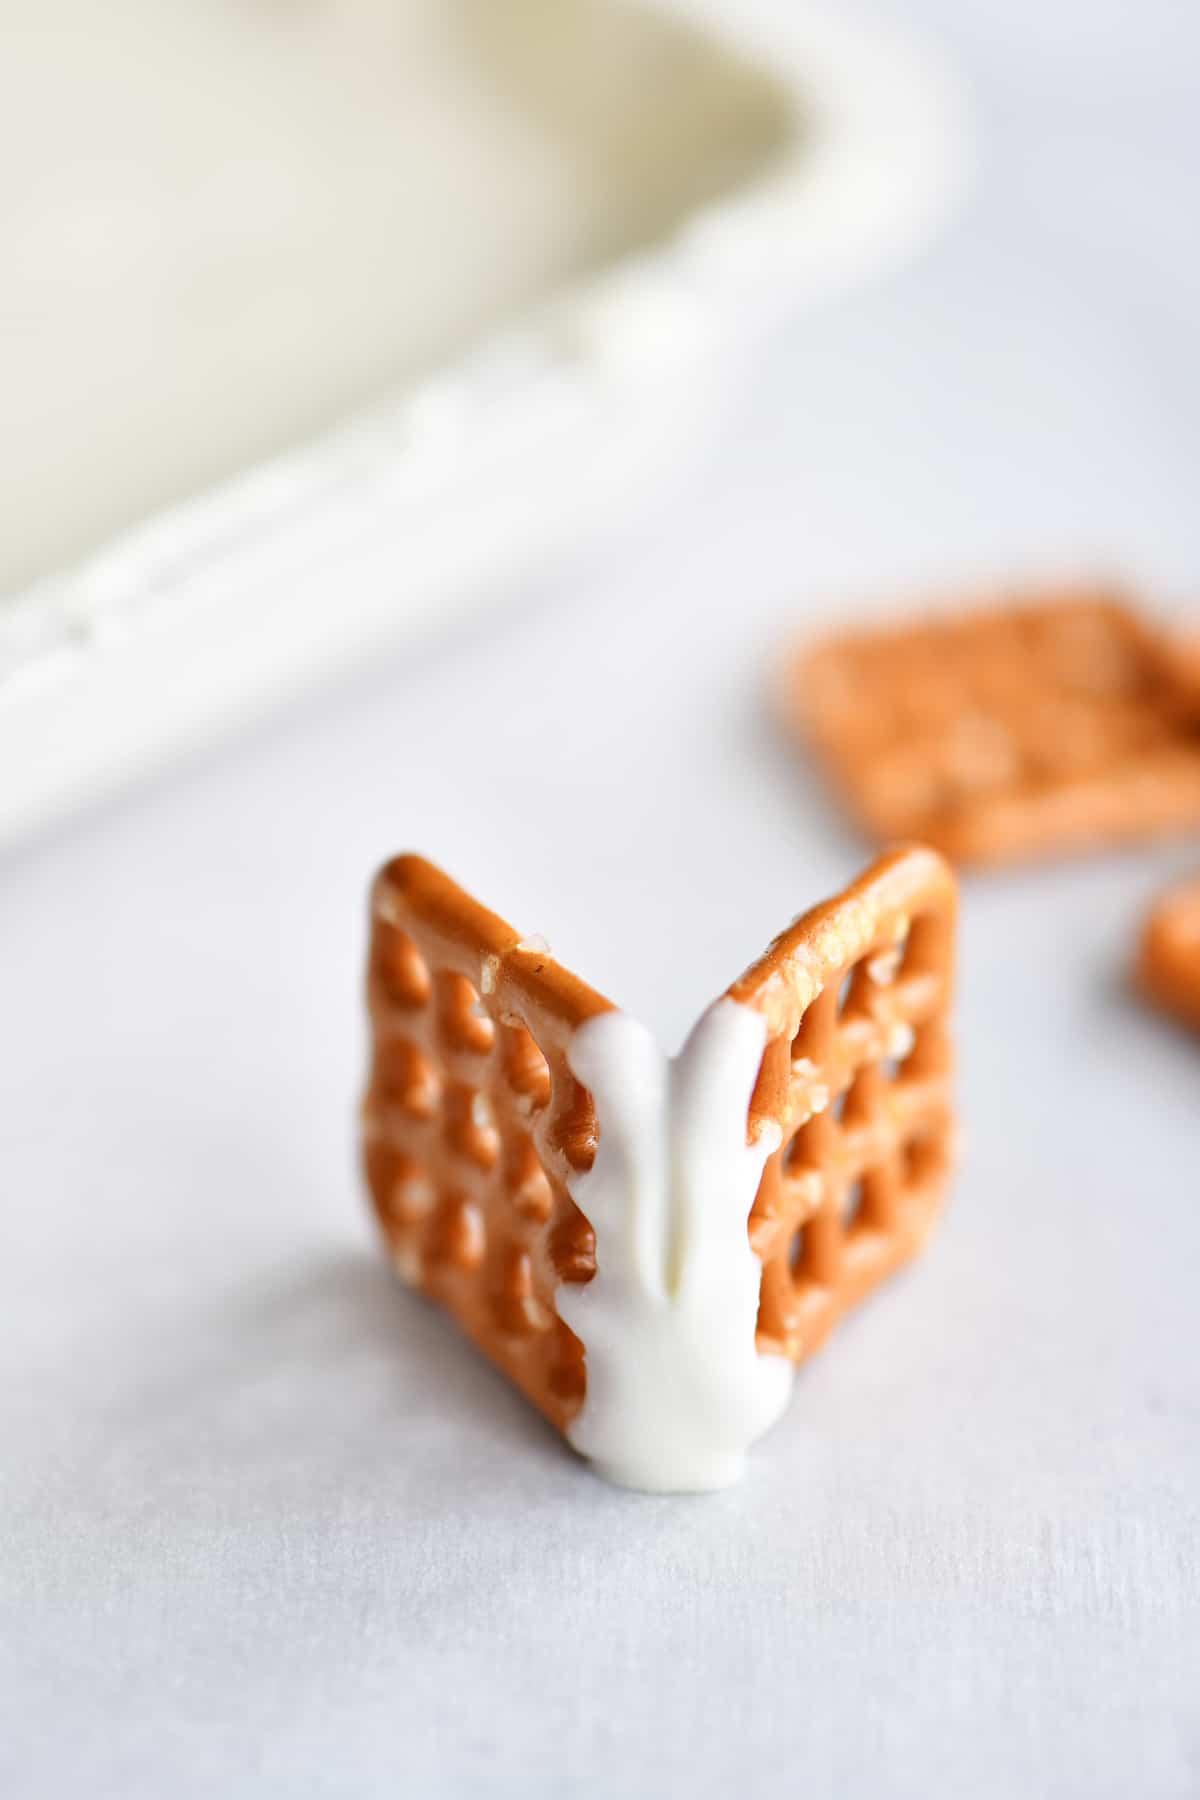
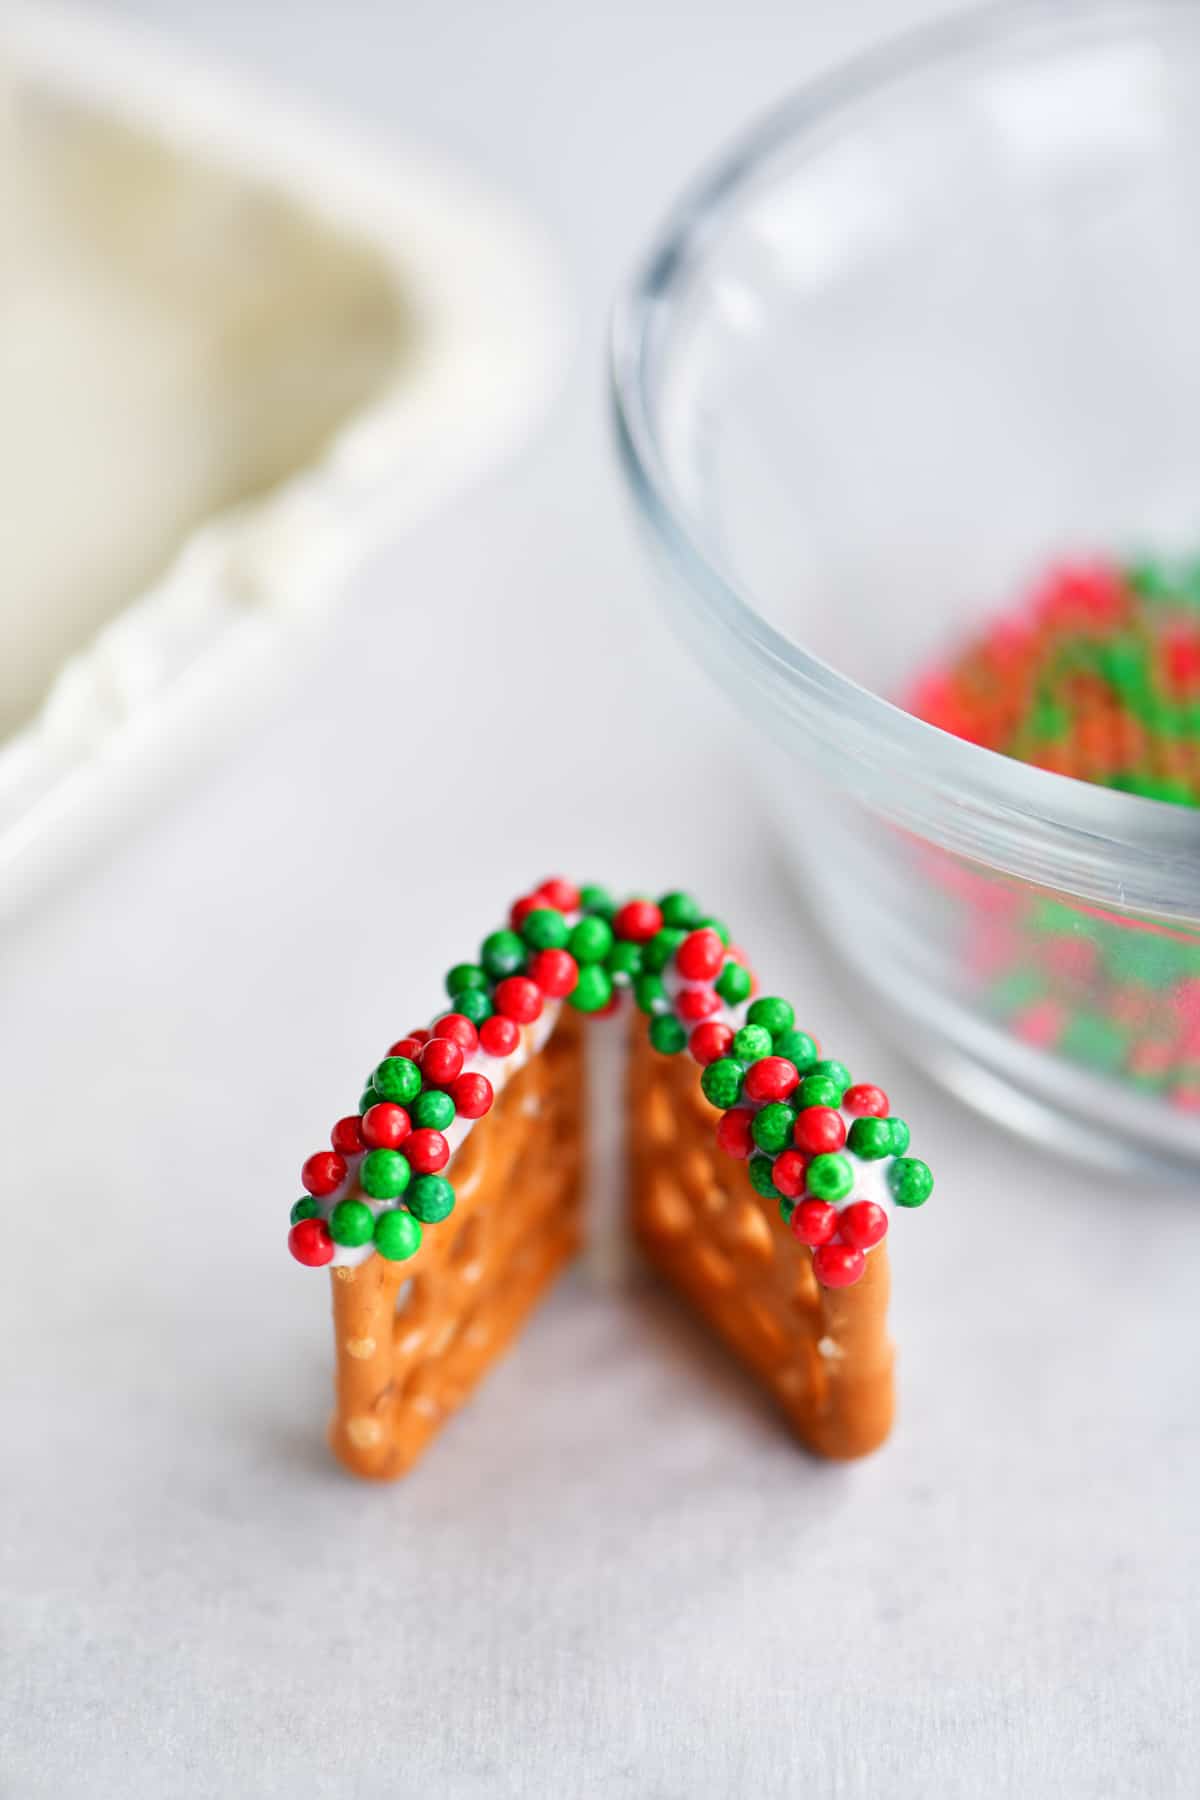
When making the roof for the mini candy houses, the LESS of an angle you make (more narrow “V” shape) the taller the roof will be on the house. And the MORE of an angle you make (a wider “V” shape) the lower the roof will be.
We liked the way it looked when we made the angle a little less than 90Ëš. But if you are making a whole village, you can make the roofs different sizes for more variety.
Step Four: Sprinkles
Once the vanilla almond bark has dried and hardened on the roof, you can add sprinkles for decoration. If you have the time and patience, you can place the sprinkles one at a time in a row.
If you are in a hurry, dip the edge of the roof in the melted candy coating and then press it into a bowl of sprinkles.
Step Five: Add Roof
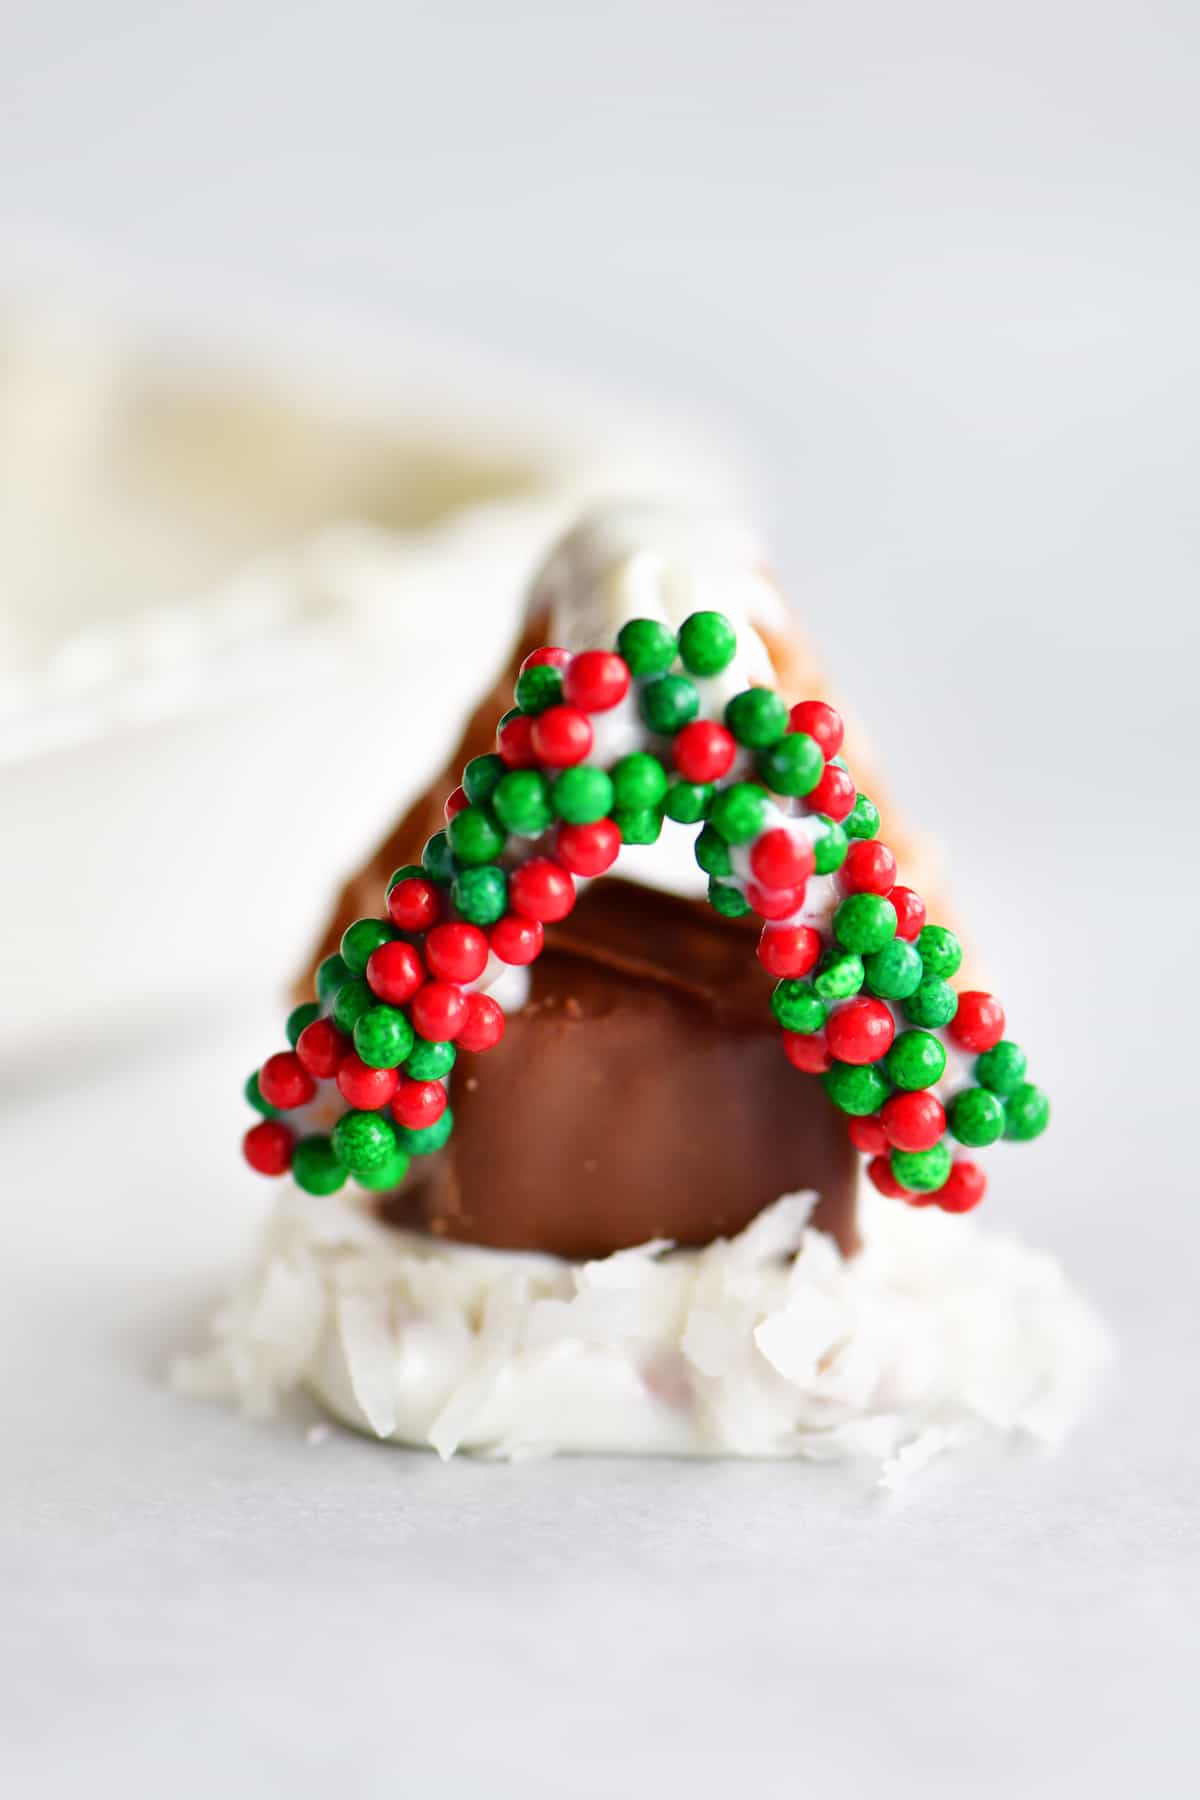
Once you’ve added your decorations, you can add the roof to the mini candy house.
Step Six: Front Door
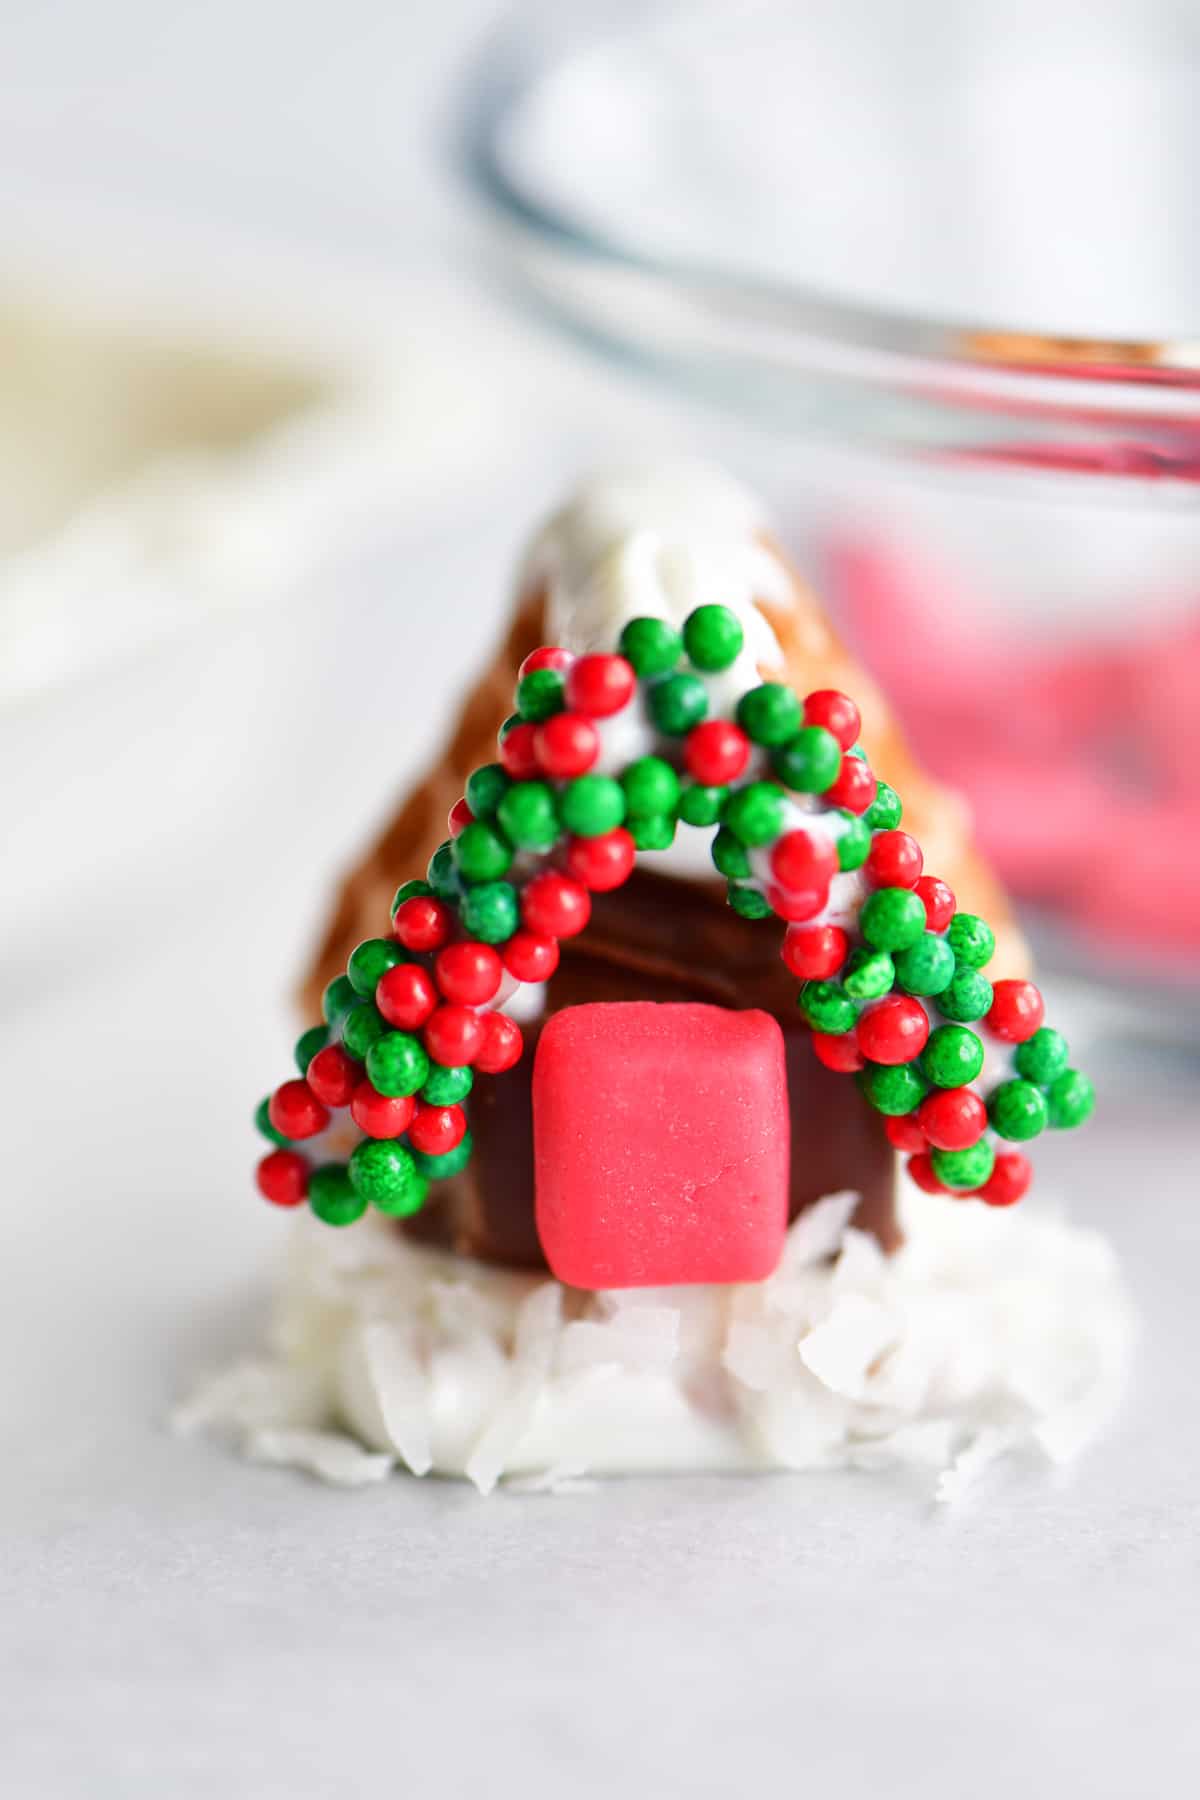
I found it was easiest to use Starburst Minis. They are the perfect size and are ready to be attached.
For the houses with all white decorations, I flattened a gumdrop and use a knife to cut out a rectangle.
Step Seven: Door Handle
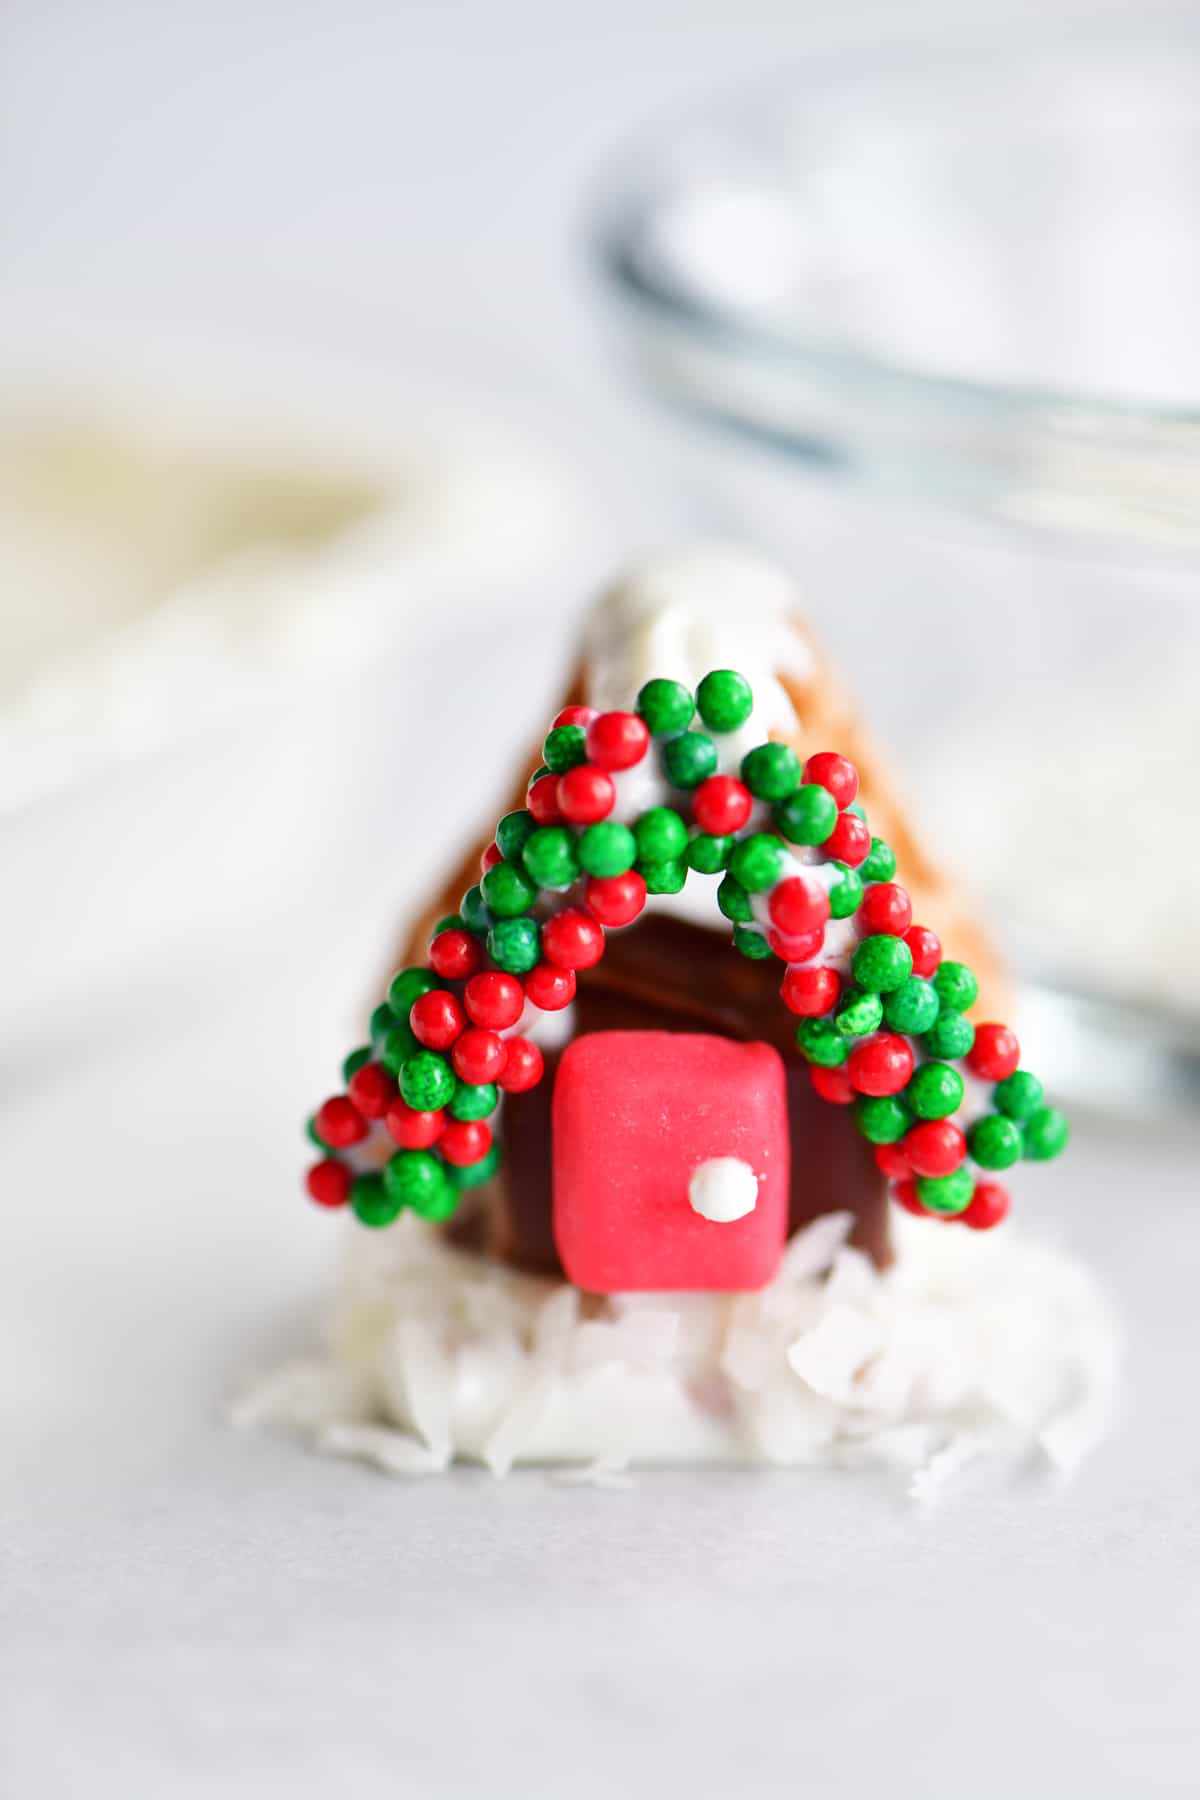
I used a white pearl sprinkle but a dot of melted candy coating would work too.
The easiest way to place the pearl is to use kitchen tweezers. Pinch the sprinkle, dip it in the melted candy coating, and place it on the door.
Additional Ways To Decorate Mini Candy Houses
Go with all one color.
Here’s what my all white mini candy house turned out like. I used shredded coconut for the snow, white pearl sprinkles for decorations, and a flattened gumdrop for the door.
Add snow to the roof. Use a knife to spread melted candy coating over the pretzel roof and sprinkle it with shredded coconut.
Use more colors. Buy various colors of candy melts and use them to make a whole variety of house colors.
Sprinkles galore. Cover the roof with melted candy coating and cover it with sprinkles.
Add more ingredients. The sky is the limit. Try various candies, crushed Oreos, cereals, and cookies to decorate the mini candy houses.
Mini Candy Houses FAQs
1. What can we use instead of coconut for snow?
If your kids don’t like coconut, try using white sparkling sugar or just use the plain melted candy coating for snow.
2. Can I use the square pretzels instead of the mini candy bar to make the house? Certainly! We tried that as well but thought the mini candy bars looked and tasted better.
3. Would white frosting work instead of melted candy coating to hold the houses together? Yes, it would work but it won’t be as sturdy.
4. Do I have to use a square pretzel for the base? No, you could probably use put a plop of melted white candy coating on the parchment paper but we love how the crunchy pretzel coating with almond bark tastes when eating the mini candy houses.
Looking For More Cute Holiday Treats? Try These Next:
These Hot Chocolate Cookie Cups made with sugar cookie dough are filled with hot chocolate ganache, have a pretzel handle and mini marshmallows on top!
Snow Globe Christmas Treats are a cute, edible craft that is easy to make. They are snow globe cookies made with Hostess Snoballs and marshmallow snowmen.
This Peppermint Hot Chocolate Cookie Cups recipe has chocolate cookie cups filled with peppermint ganache and a candy cane handle topped with crushed candy canes and mini marshmallows.

Mini Candy Houses
Ingredients
- 8 oz vanilla candy coating (or vanilla almond bark or white chocolate chips)
- 30 square pretzels
- 2 tablespoon shredded coconut
- 10 bite-sized candy bars
- 10 Starburst Minis
- various sprinkles and decorations
Instructions
- Melt the vanilla candy coating according to the instructions on the package.
- Dip a square pretzel into the melted vanilla candy coating and set it on a piece of parchment paper. Cover the edges with shredded coconut. Press a bite-sized candy bar into the center. Set aside to harden.
- Dip one edge of two square pretzels in the melted vanilla candy coating. Press together to form a "V" shape (slightly less than 90˚) and place on a piece of parchment paper. Allow the candy coating to harden before moving on.
- Once the candy coating on the roof has hardened, dip the edge in the melted candy coating and then dip it in the sprinkles.
- Spread melted candy coating on the edges of the bite-sized candy bar house and attach the pretzel roof.
- Attach a Starburst Mini for a door and a white pearl sprinkle for the door handle.





Rhonda says
Love this!!!
Mini’s are the best
Tonia says
Thanks Rhonda! I agree!