Here is an easy Sugar Cookies Icing guide with recipes and directions for how to decorate sugar cookies from super easy to more advanced.
Growing up my mom would always make cut-out sugar cookies with us and we would spend hours decorating them. It is a tradition I’ve continued with my kids and even though they aren’t little anymore, my girls still enjoy making them.
In this post, I am sharing four different sugar cookie icing recipes as well as instructions for how to use each of the kinds of icing. I hope you try at least one of them with your family this year!
In This Post
Easiest Sugar Cookies Icing: Dipped Method
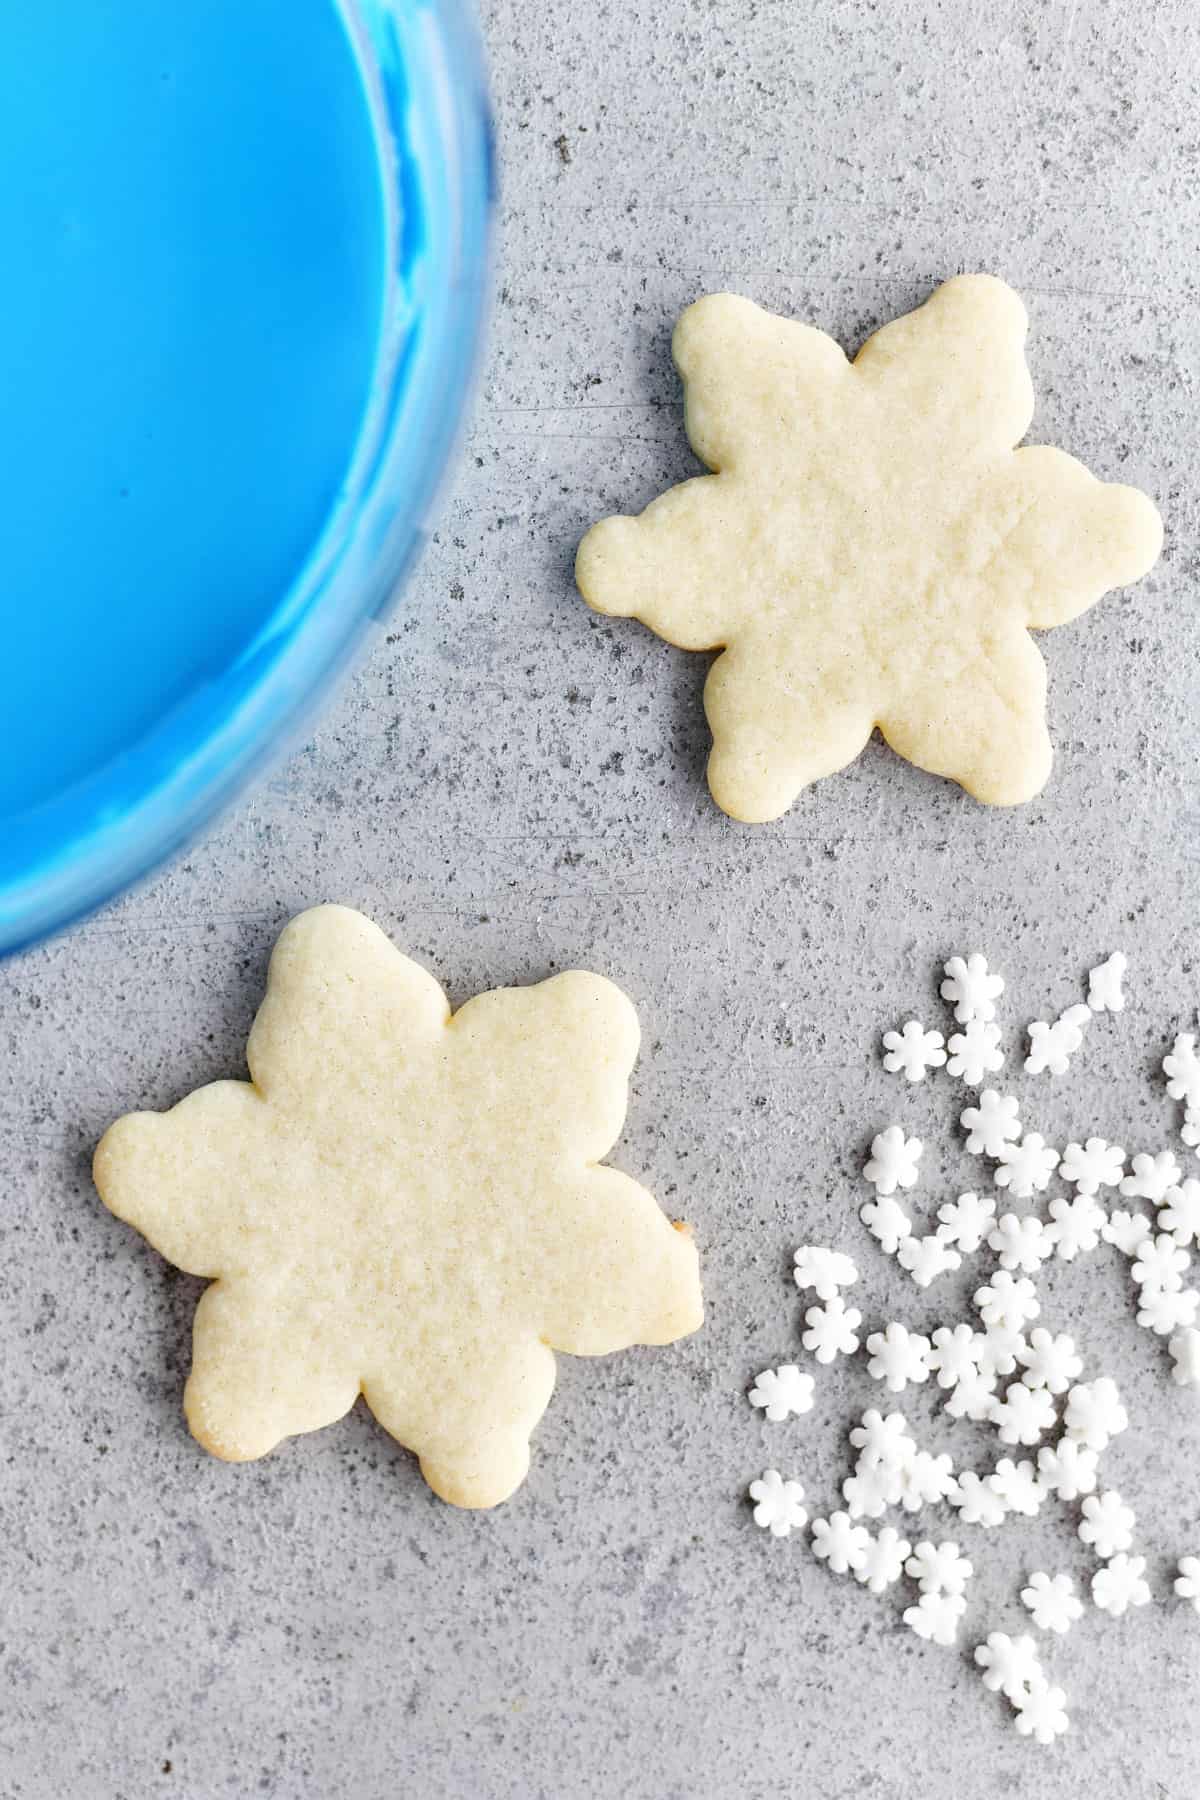
The first and easiest way to decorate sugar cookies is to use store-bought frosting and dip the cookies into the icing. This is great for when you are short on time or short on patience, but still want to decorate sugar cookies with your kids.
Transfer the store-bought vanilla frosting from the container to a microwave-safe bowl that is wide enough to allow you to dip a cookie. Melt the frosting in the microwave for about one minute on high. Then, stir the frosting until smooth. Add food coloring to make it whatever color you want it to be and stir until the color is even.
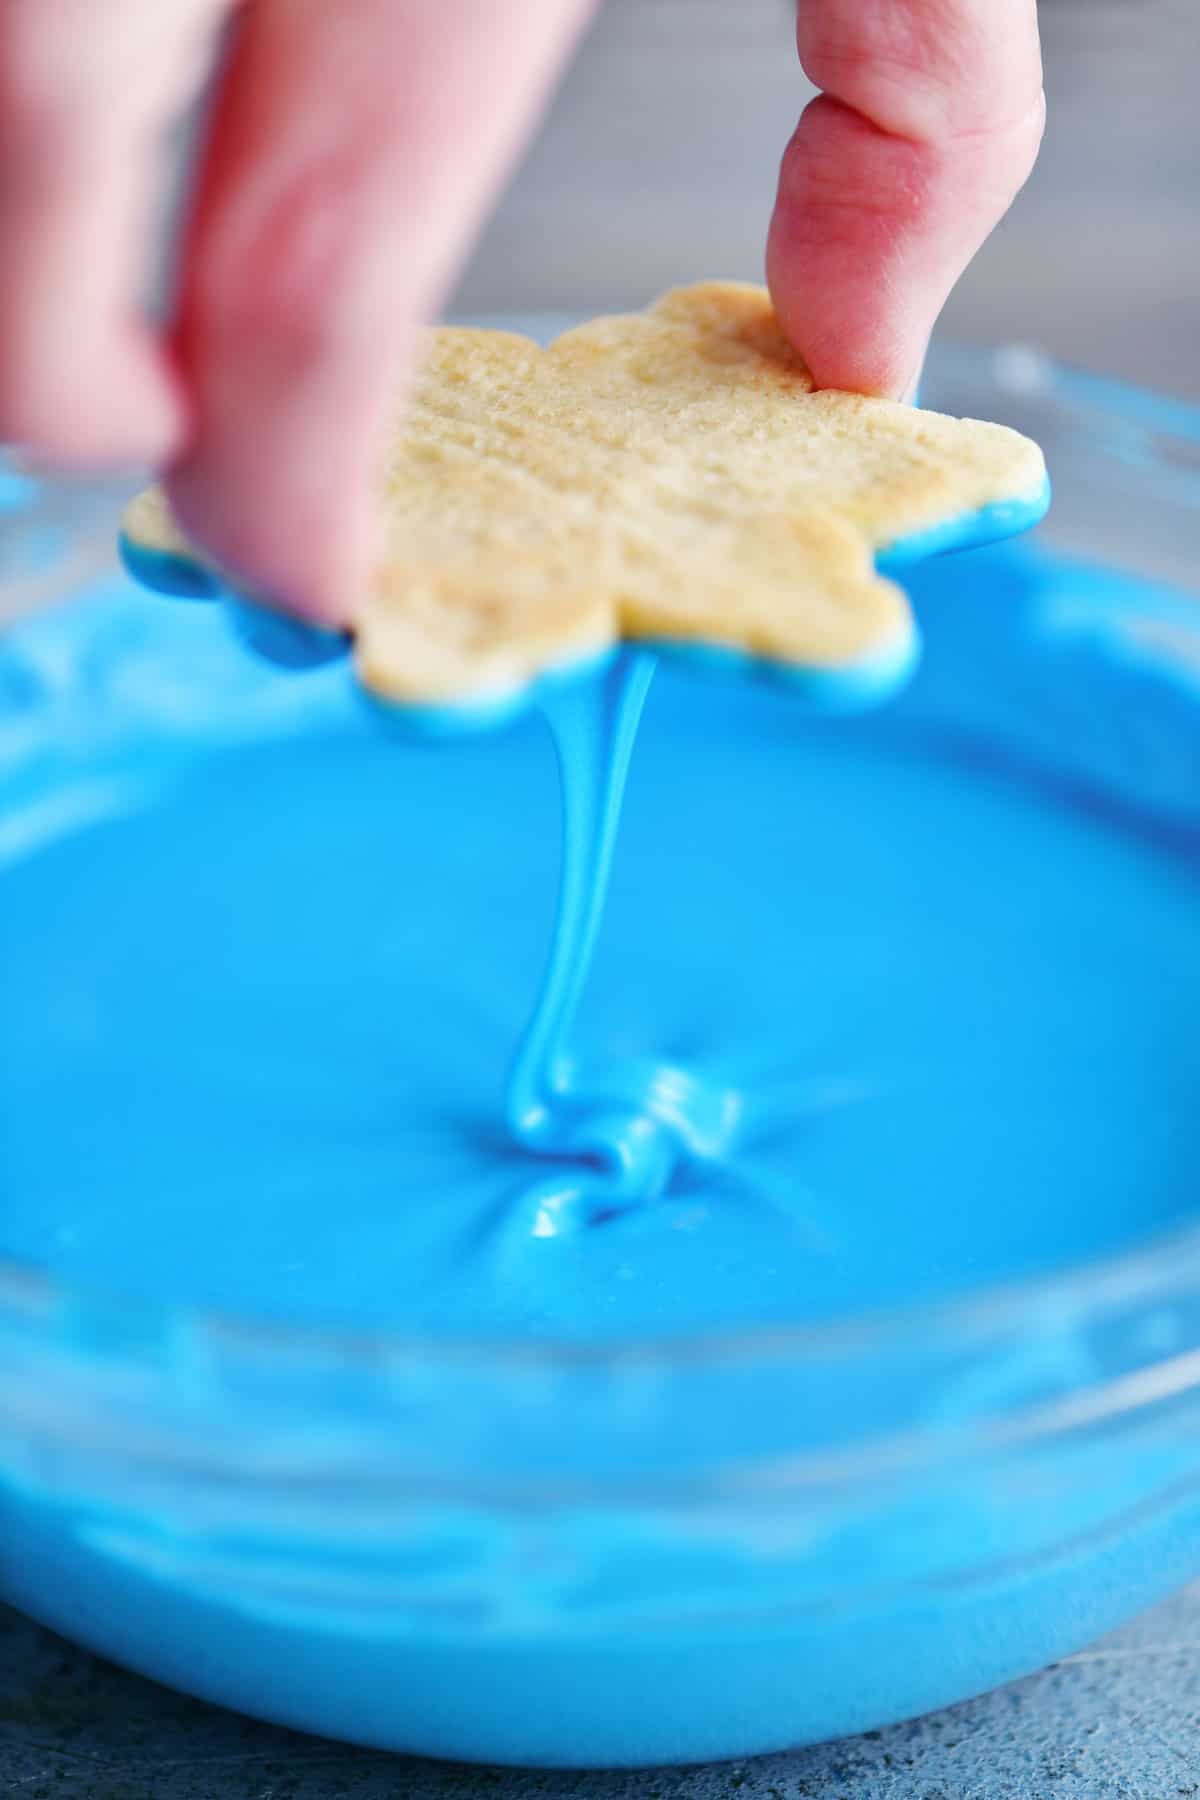
Grab a sugar cookie and dip it into the icing allowing the excess to drip off while gently shaking the cookie back and forth.
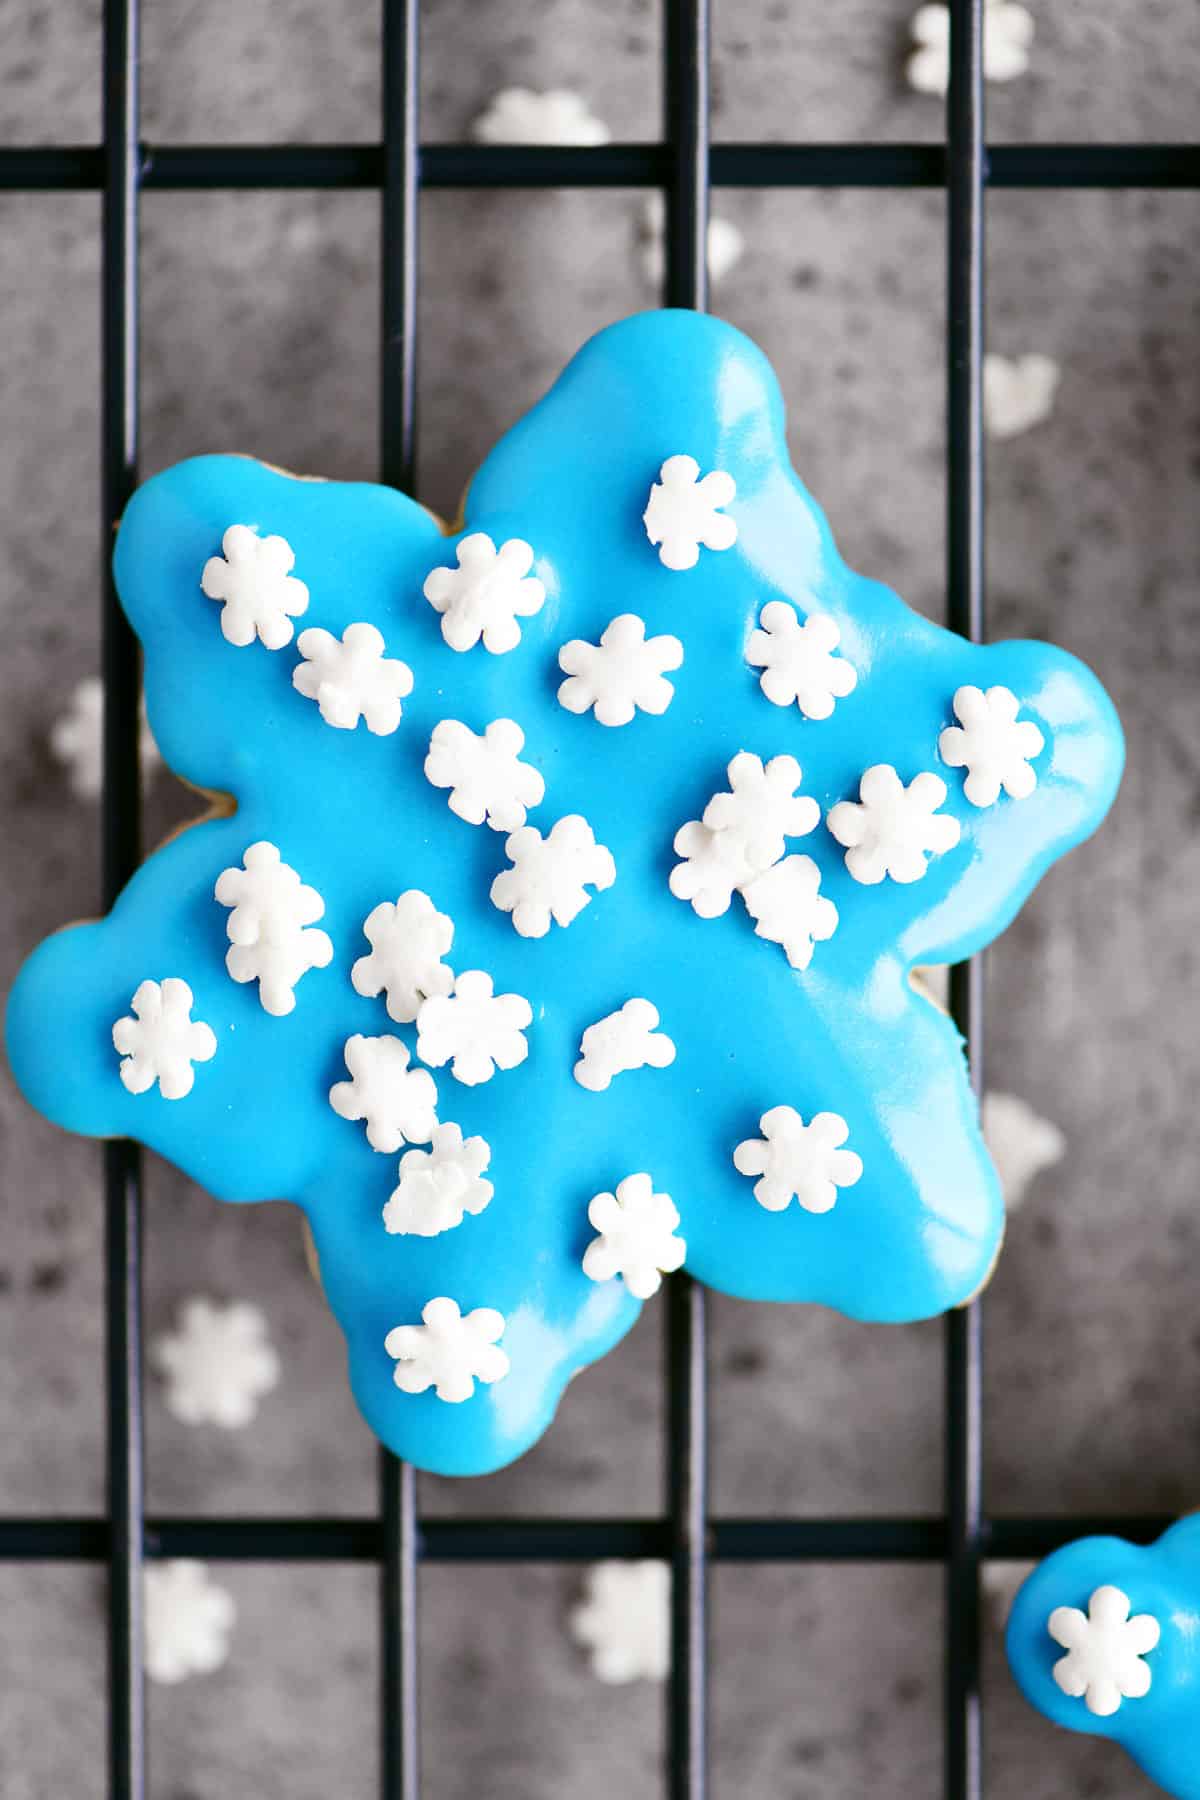
Place the dipped cookies on a wire rack and top with sprinkles if desired.
Medium Level: Traditional Sugar Cookie Icing
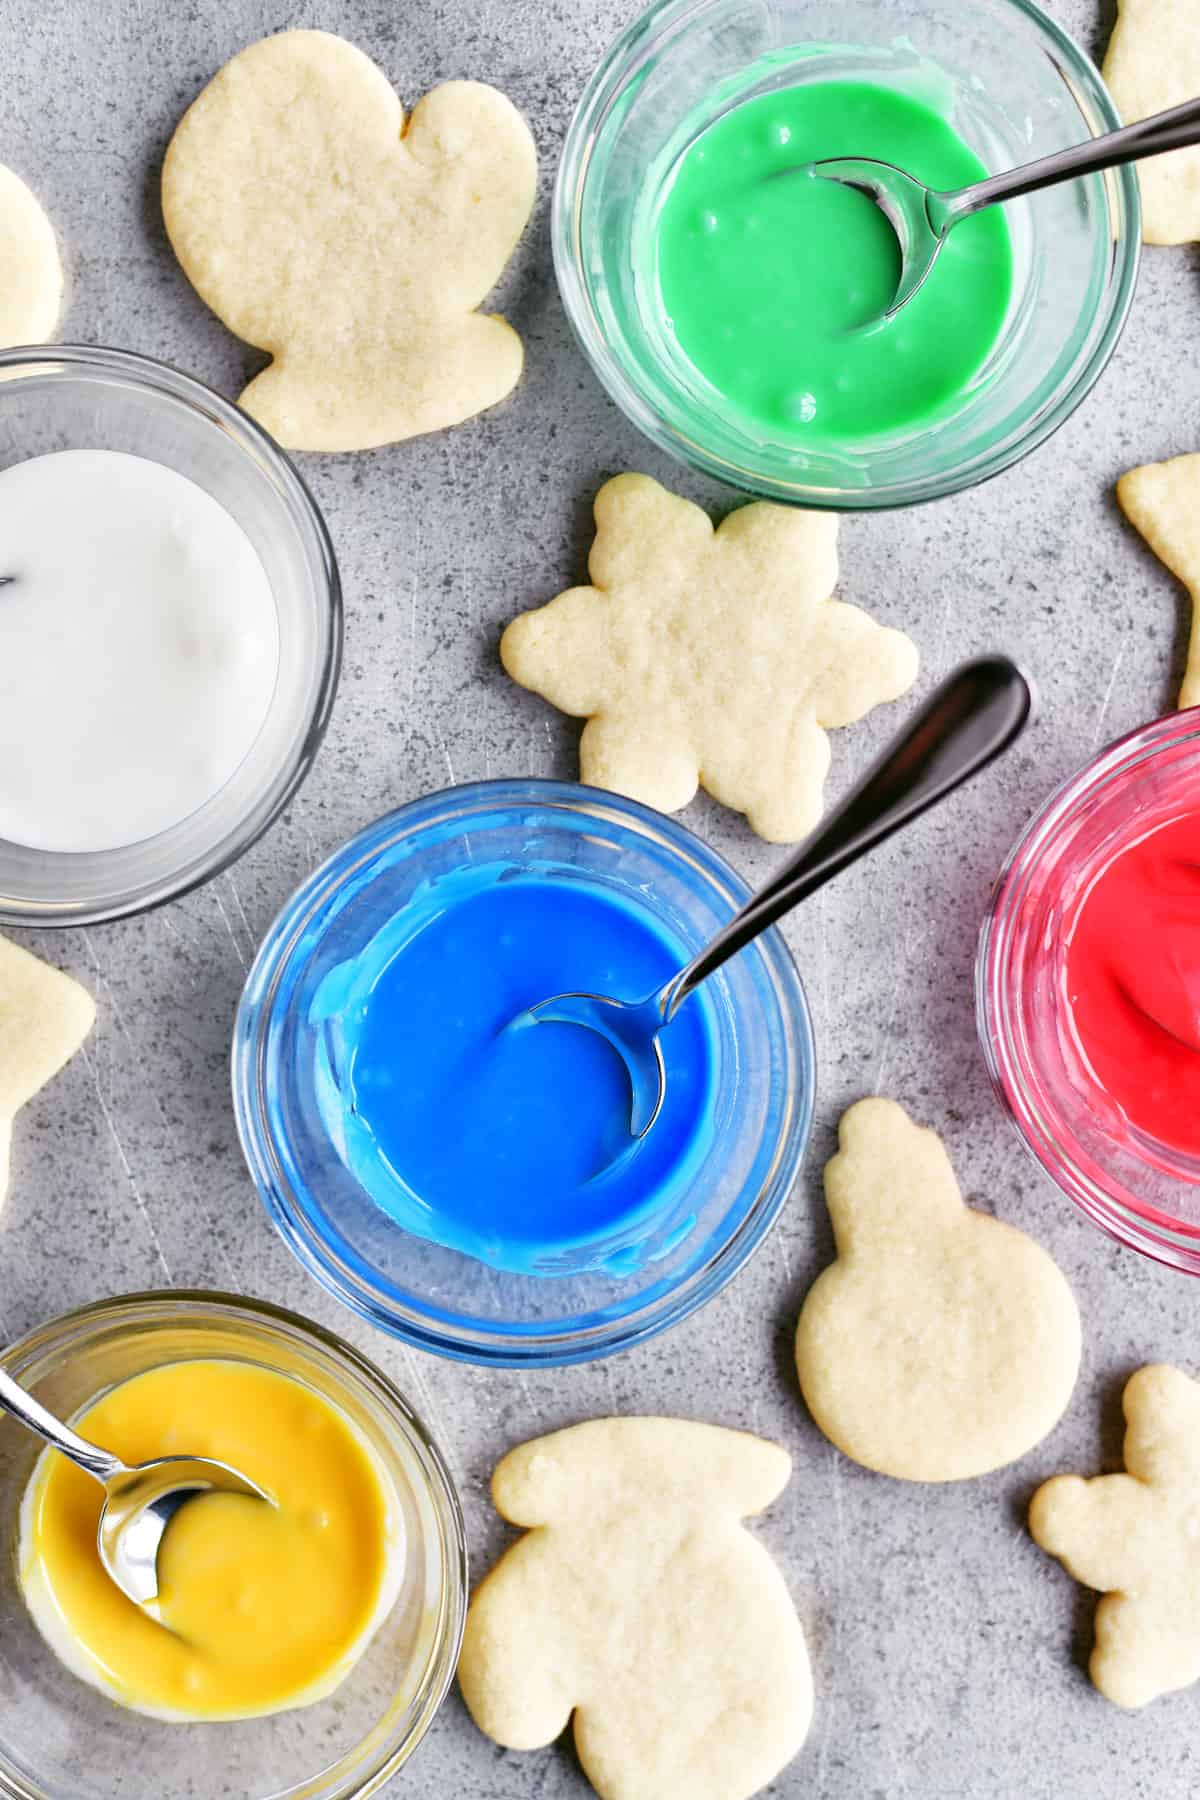
We always made homemade sugar icing using powdered sugar, milk, and vanilla, when I was a kid. It is so basic it can hardly be called a recipe. Divide the icing between small bowls and use food coloring to make all of the colors you want.
The easiest way to use this sugar cookies icing is to put it on the cookies using the backs of the spoons or a butter knife. This is how we iced cookies when I was a kid and it is how I taught my kids to decorate them. You won’t get the most precise lines but sometimes it is more about having fun than being exact.
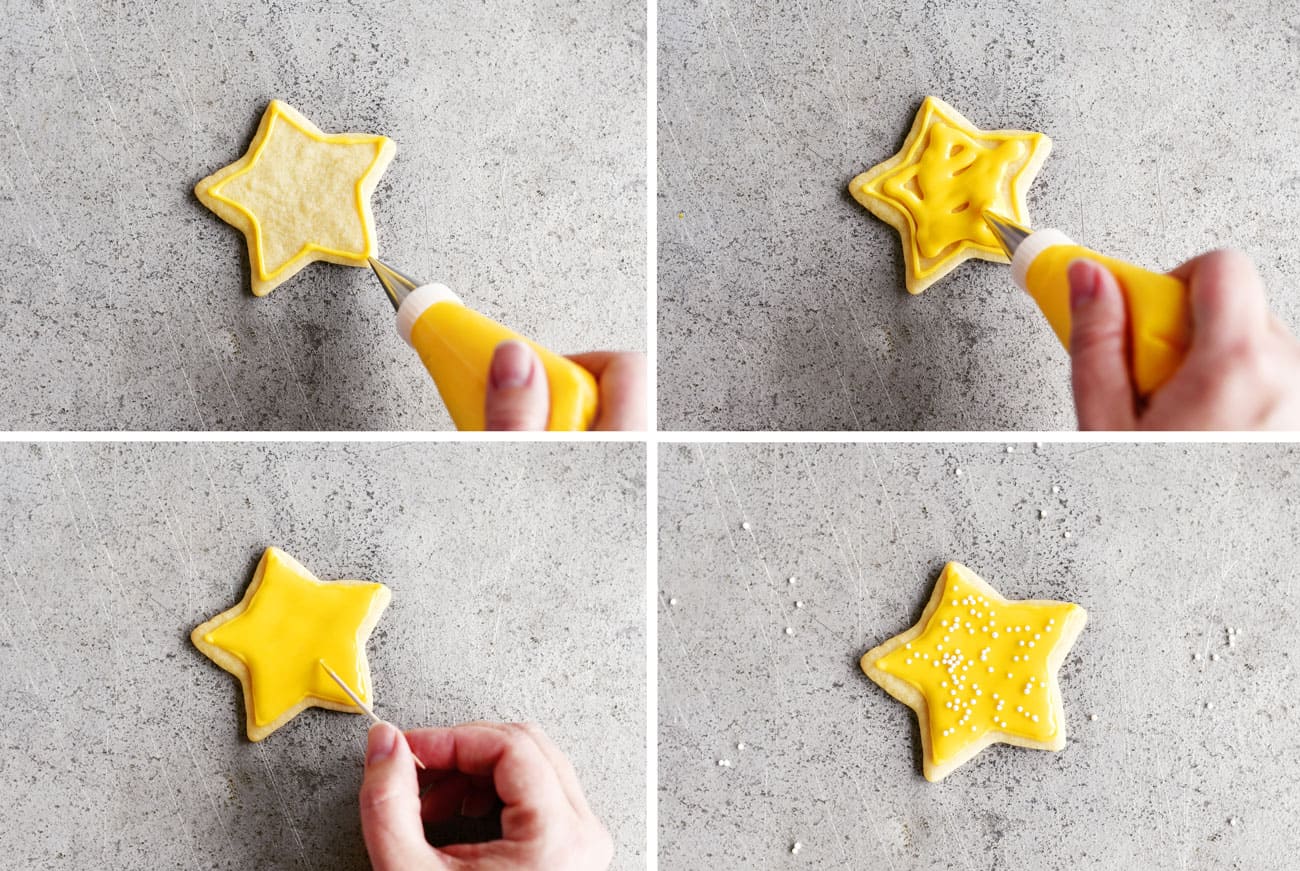
This powdered sugar icing also works in a piping bag with a tip. Use a small round tip (size 5 works) to outline the cookie with icing. Then, flood the inside of the cookie with more icing. Use a toothpick to push the icing around so that the cookie is covered. If there are small bubbles, you can use a toothpick to pop them.
Adding sprinkles makes them even more fun and can also help to hide any imperfections.
Medium Level: Buttercream Icing
Buttercream icing comes in first for taste in my opinion! Even as a child, I would spend my own hard-earned money to buy sugar cookies from the bakery with tons of buttercream piled on top. When using buttercream frosting, your lines and decorations will be less detailed. Also, the buttercream stays softer than some of the other sugar cookies icings.
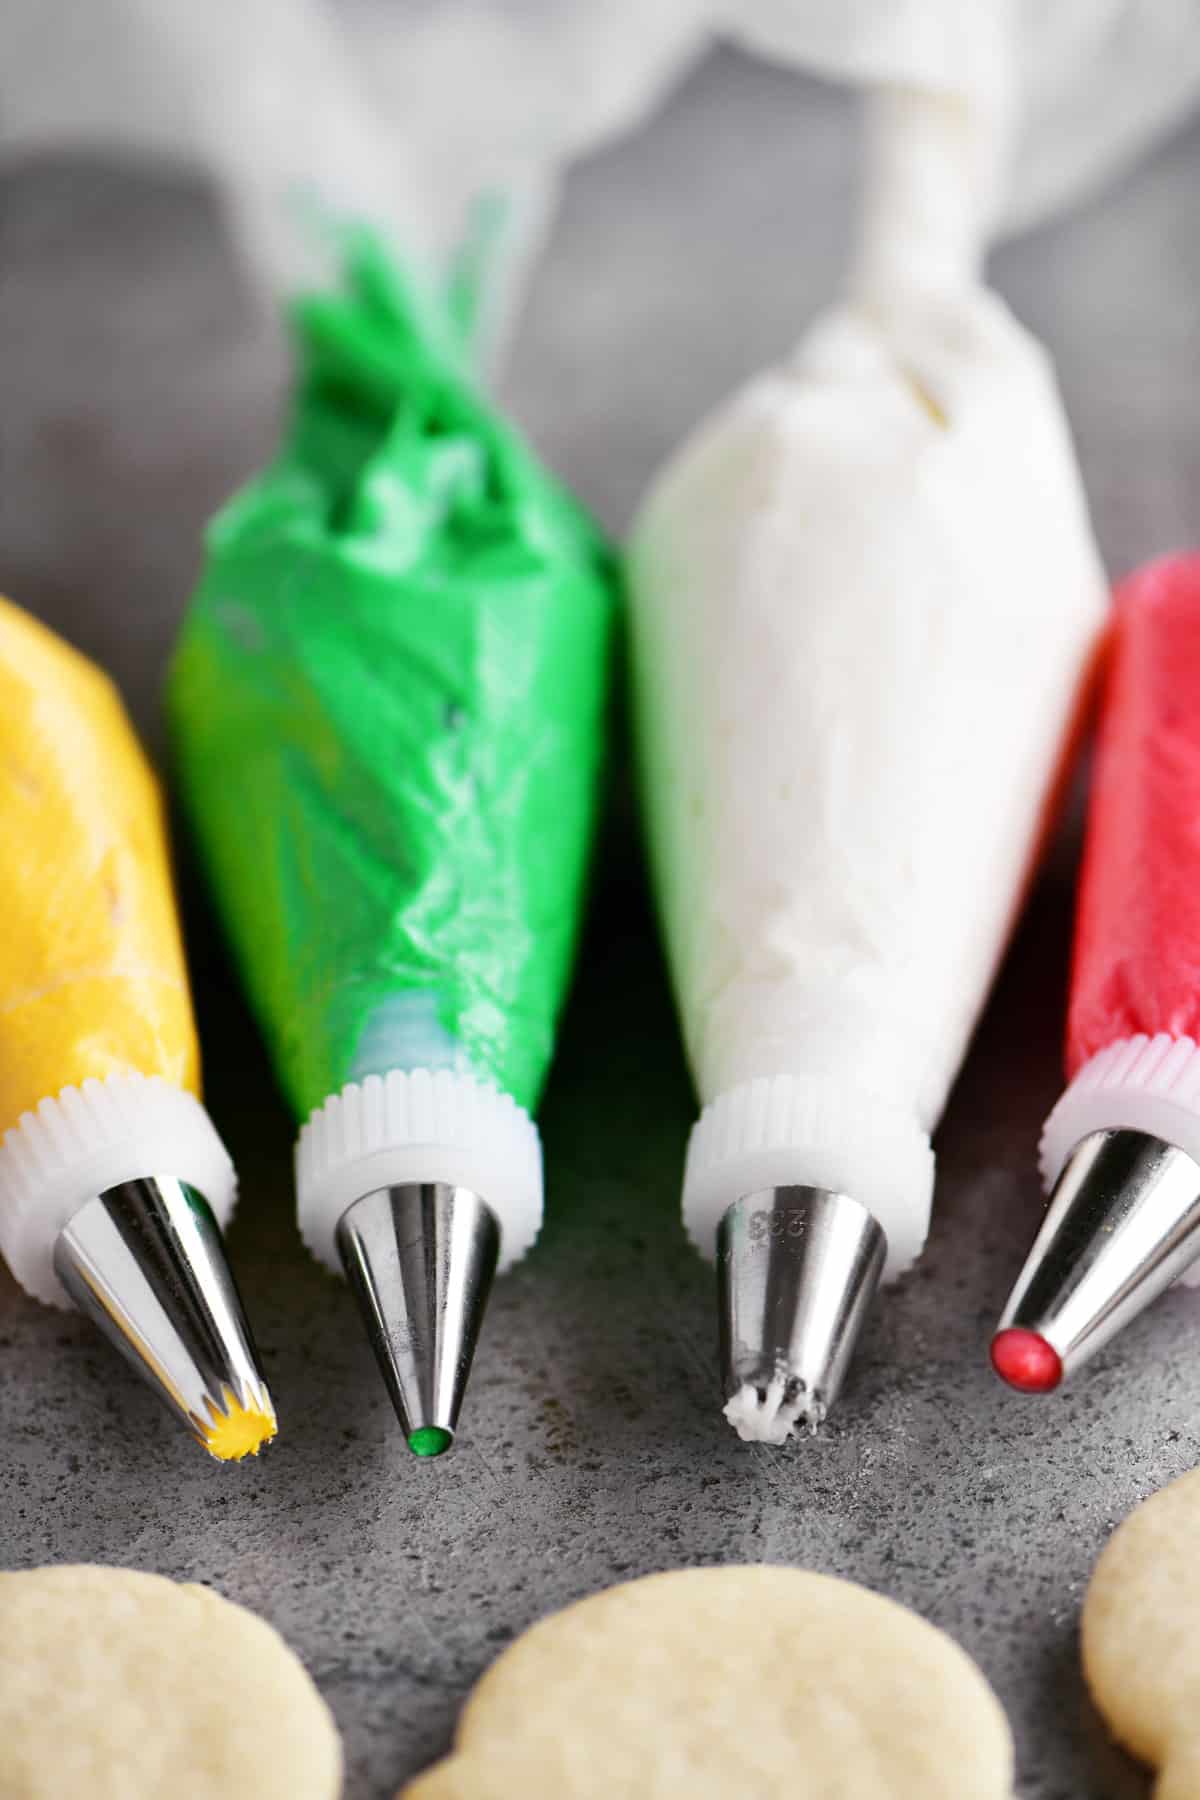
First, make the buttercream icing. Divide the icing into separate bowls and use gel paste food coloring to tint each bowl a separate color, leaving one bowl plain white. Then, fill pastry bags, fitted with various piping tips, with the colored buttercream.
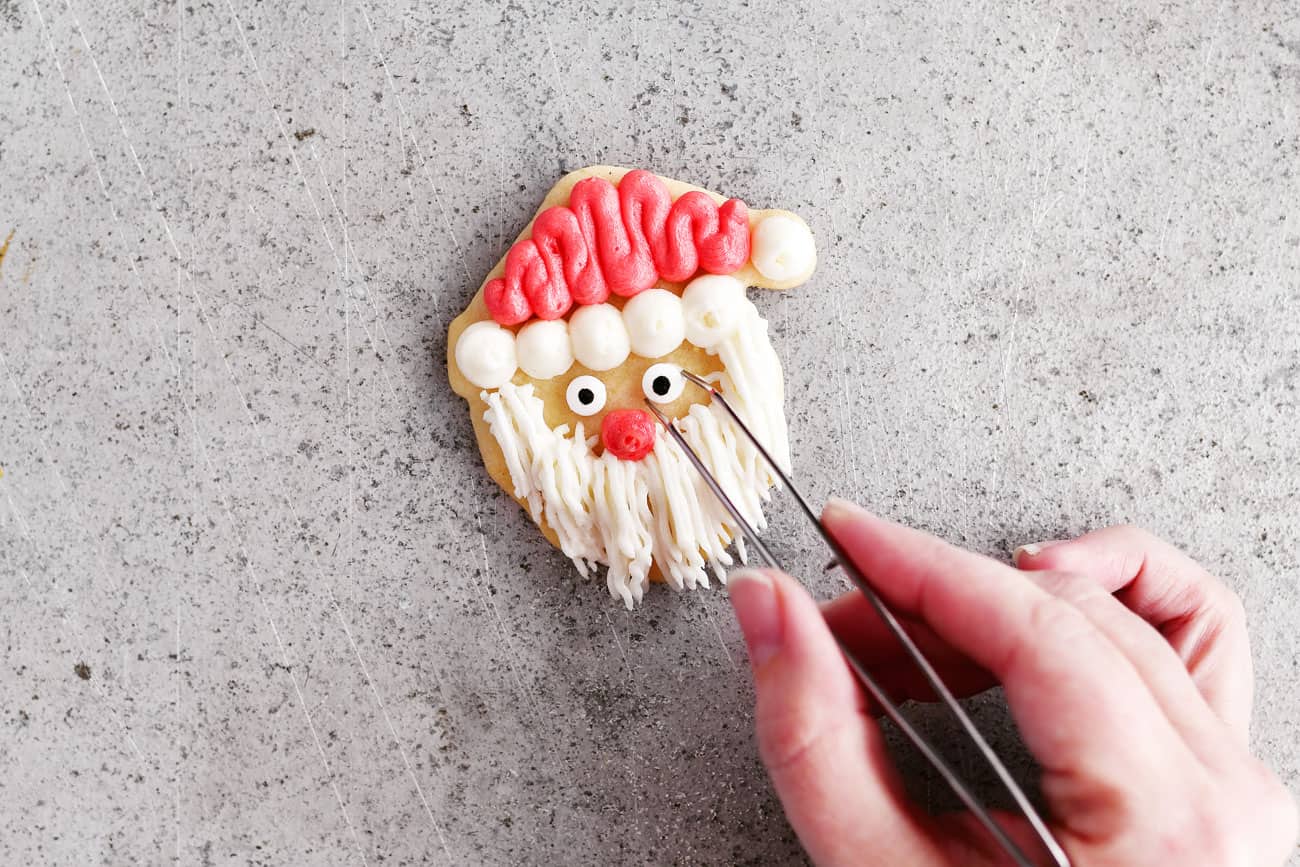
To make a Santa face, use a grass piping tip (I bought this set on Amazon) to make the beard and a round tip to make the white fur on the hat. A round piping tip is also used to make the red part of the hat, as well as the nose. For Santa’s eyes, I used these eyeball sprinkles from Amazon and attached them with a dab of white buttercream.
To make the Christmas ornaments, I piped on the green and white icing with a round tip and then added green sprinkles. For the stars, I used an open star tip to make little stars or dollops over the whole cookie.
Advanced Sugar Cookies Icing: Royal Icing
For the more advanced sugar cookie decorating, you can use royal icing. What makes it more advanced is that you can do very precise decorations and do them on various levels with royal icing. The other thing about royal icing is that it gets hard which is great for storage but a little extra care while working with it.
Make a batch of royal icing with sifted powdered sugar, meringue powder, and water. Use enough water to make it the consistency of toothpaste – spreadable but not runny. Divide it into separate bowls and tint each bowl the color you want. Keep the bowls tightly covered with plastic wrap or covered with a wet cloth to keep them from hardening.
Transfer half of the icing in a bowl into a pastry bag fitted with a small round tip (size 2 or 3). Cover the icing tip to prevent hardening. I found these piping tip covers from Amazon to be super useful!
Royal Icing Consistency
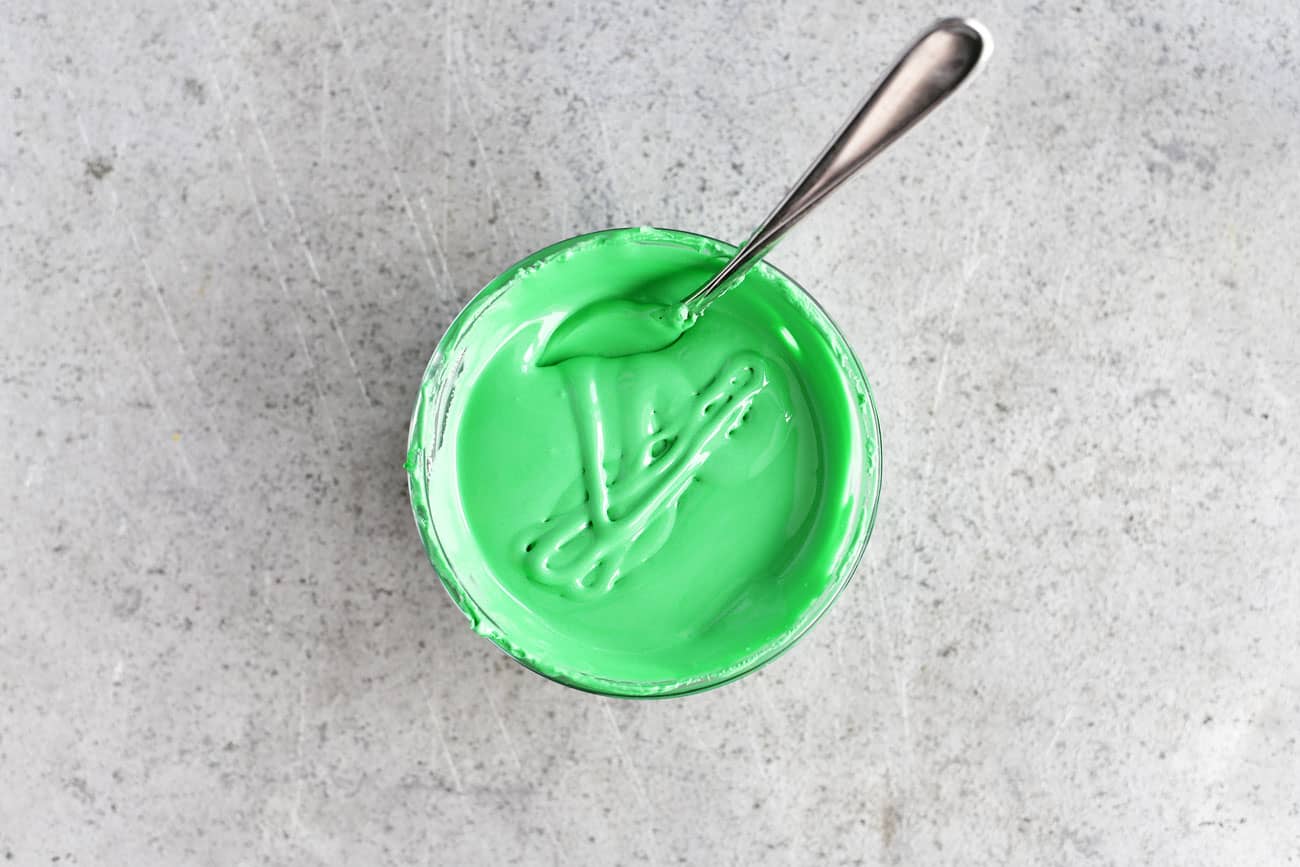
Then, thin the rest of the royal icing in the bowl with tiny drops of water until it reaches a flowing consistency. I like to do the “ribbon test” to see if it just right. Take a spoonful of royal icing and drizzle it back and forth in the bowl kind of like a ribbon.
The icing should hold its shape for a bit and then disappear back into itself in less than 10 seconds. You can see how the strands of icing on the bottom of the drizzle have almost disappeared completely.
Put this thinner sugar cookies icing into icing bottles with caps or into another pastry bag fitted with a small round tip (size 4 or 5) for flooding.
Using Royal Icing
To decorate sugar cookies with royal icing, pipe the thicker consistency icing around the outside edge of the cookie. Start by touching down where you want to start and then slow squeeze icing out of the bag while lifting the bag allowing a strand of icing to flow from the tip. Guide the strand of icing where you want it to go. Touch down again when you want to make a sharp point or when you reach the start again.
Then, flood the inside of the sugar cookie with the royal icing from the icing bottle. Use a toothpick to move the icing around until the whole cookie is covered. If there are any bubbles, use a toothpick to pop them.
If you want to use more than one color on a sugar cookie, like I did when decorating these mittens, allow one color to harden before moving on to the next color. The same is true if you want to pipe additional layers or decorations on top of each other.
More Ways To Decorate Cookies
- These cute Gnomes Cookies are surprisingly easy to make and are super fun to decorate with your choice of a buttercream or cotton candy beard.
- The BEST Soft Sugar Cookie recipe for soft, tender cookies with NO refrigeration needed, NO rolling dough, and NO cookie cutters. They look beautiful with piped buttercream frosting.
- These pretty pink Peppermint Cookies with a candy cane crunch are topped with smooth peppermint buttercream frosting and sprinkled with crushed candy canes!
- This S’mores Cookies Recipe has the goodness of the classic summer treat stuffed into a cookie complete with a toasted marshmallow and chocolate on top.

Sugar Cookies Icing Guide
Ingredients
Dipped Method
- 16 oz vanilla frosting
- gel paste food coloring
Traditional Icing
- 4 cups powdered sugar
- 4-6 tablespoon milk (plus more as needed)
- ½ teaspoon clear vanilla extract
- gel paste food coloring
Buttercream Icing
- ½ cup butter softened
- ½ cup shortening
- 4 cups powdered sugar sifted
- 2-3 tablespoon half-n-half
- 1 teaspoon vanilla extract
- gel paste food coloring
Royal Icing
- 4 cups powdered sugar sifted
- 3 tablespoon meringue powder
- 6-9 tablespoon water (plus more as needed)
- gel paste food coloring
Instructions
Dipped Method
- Transfer the vanilla frosting to a wide, microwave-safe bowl. Melt in the microwave for about 1 minute on high. Stir until smooth.
- Add food coloring and stir until the color is uniform.
- Dip cookies in the icing, shake gently to allow the excess to drip off, and then place on a wire rack. (Yield: 1 3/4 cups)
Traditional Icing
- Stir powdered sugar, 4 tablespoons of milk, and vanilla in a bowl until smooth. Add additional milk 1/4 teaspoon at a time, as needed, stirring after each addition until the icing is the right consistency.
- Divide icing between bowls. Add food coloring and stir until the color is uniform.
- Use a piping bag or the back of a spoon to ice the cookies. (Yield: 1 1/2 cups)
Buttercream Icing
- Beat the butter and shortening until light and fluffy.
- Gradually add the powdered sugar 1/2 cup at a time, stirring after each addition until combined.
- Add 2 tablespoons of half-n-half, vanilla extract, and salt. Beat until smooth. Add more half-n-half, a tablespoon at a time, until it is the right consistency.
- Divide the buttercream between bowls. Add food coloring and stir until the color is uniform.
- Transfer to pastry bags fitted with piping tips and pipe onto cookies. (Yield: 2 1/2 cups)
Royal Icing
- In a stand mixer with the paddle attachment, stir powdered sugar, meringue powder, and 3 tablespoons of water (add an additional tablespoon if needed) until combined. Then, beat for 5-8 minutes until peak form. (Yield: 3 cups)
- Divide icing between bowls. Cover each bowl tightly with plastic wrap or a damp cloth to prevent the icing from hardening.
- Working with one bowl at a time, uncover and add food coloring. Stir until the color is uniform.
- Add additional water 1/4 teaspoon at a time, if necessary, to get the icing to a pipeable consistency similar to toothpaste. Transfer about 1/3 of the icing to a pastry bag fitted with a small round tip (size 2 or 3) and cover the tip to prevent the icing from hardening.
- Add additional water 1/4 teaspoon at a time to the remaining icing in the bowl until is it flooding consistency. (Drizzle a ribbon of icing over the bowl and it should disappear within 5-10 seconds.) Transfer the icing to a plastic icing bottle or a pastry bag fitted with a small round tip (size 4 or 5) and cover the tip to prevent the icing from hardening.
- Repeat with the remaining bowls of icing.
- Use the thicker, pipeable consistency icing to outline the cookies. Start by touching down where you want to start and then slow squeeze icing out of the bag while lifting the bag allowing a strand of icing to flow from the tip. Guide the strand of icing where you want it to go. Touch down again when you want to make a sharp point or when you reach the start again.
- Then, flood the inside of the sugar cookie with the royal icing from the icing bottle. Use a toothpick to move the icing around until the whole cookie is covered. If there are any bubbles, use a toothpick to pop them.
- If you want to use more than one color on a sugar cookie, allow one color to harden before moving on to the next color. The same is true if you want to pipe additional layers or decorations on top of each other.
Video
Notes
Storage
- Dipped Icing: Cover and store in the fridge for 3-4 days.
- Traditional Icing: Store in an airtight container in the fridge for 3-4 days.
- Buttercream: Store in an airtight container in the fridge for up to a week or in the freezer for up to three months.
- Royal Icing: Store in an airtight container at room temperature for 1-2 weeks.
Nutrition
Frequently Asked Questions
It depends on what look and taste you want. Buttercream tastes the best but is less detailed. You can get very detailed with royal icing but it is more difficult to decorate with. Traditional powdered sugar icing is somewhere in the middle of the two.
Buttercream, powdered sugar icing, or royal icing is often used on sugar cookies. Cream cheese buttercream is perfect for pumpkin cookies and chocolate buttercream is delicious on peanut butter cookies!
You can use sprinkles, small candies such as M&M’s, crushed peppermints, Hershey’s Kisses, and marshmallows.











Jackie says
Will the traditional icing harden like royal icing?
Tonia says
It will harden more than buttercream but less than royal icing. It more like it forms a smooth crust on the top.
Charles Geer says
Thanks for the multiple ideas on preparing icing for sugar cookies. I have looked for a long time for the information included on your web site and will try the easy and medium levels of your sugar cookie icing recipes.